

Set up your first plan
This is the dashboard track, where you stand up the plan your billing runs on. Everything here happens in the Schematic app, in your browser. You will not need a code editor, a terminal, or an engineer sitting next to you.
By the end you will have a plan that grants access to a feature, a second feature metered against a monthly allowance, and a customer-facing billing portal that your customers can use to upgrade themselves. Plan on about twenty minutes.
Start with your agent
If you use Claude, ChatGPT, or a coding assistant, connect it to Schematic’s MCP server first and let it do the four steps below with you. The server is at https://api.schematichq.com/mcp. Working with AI has the setup for chat assistants and Building with AI has it for coding assistants. When you sign in, pick the environment you want to build in and choose read and write access.
The Quickstart page in your Schematic account shows whether an agent is connected and has a Copy onboarding kickoff prompt button. Paste that prompt into your assistant and it checks what your account already has, then walks you through setup one step at a time, asking before it changes anything.
If your pricing already exists somewhere, hand it over instead of describing it:
A PDF of your price sheet works the same way. Attach it in place of the link. The assistant reads the page, sorts what it finds into plans, on-or-off features, metered features, and add-ons, confirms the parts it is unsure of, and creates them through the MCP server. It ends with a summary of what it created and anything left to finish in the app.
The four steps below are still worth reading afterward, because they show you where each piece the agent built lives in the dashboard.
The four steps
- Create your account — sign up, generate the API keys your engineers will need, and load sample plans and customers so you have something to work with.
- Add your first feature — create a feature, then entitle it to a plan so every company on that plan gets access.
- Meter usage — create a feature that counts each use, give a plan a monthly allowance, and watch the usage land.
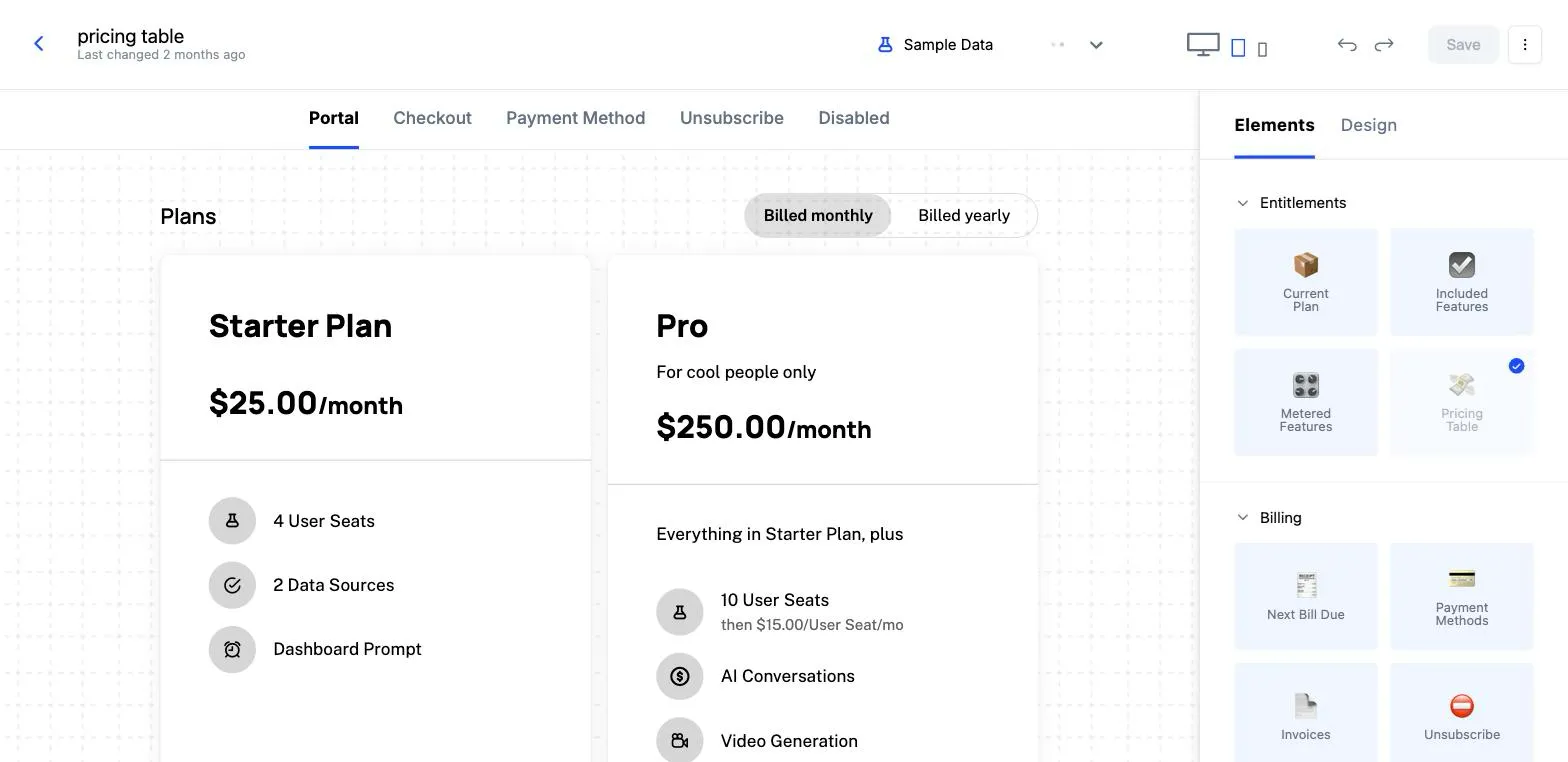
- Publish a billing portal — build a Customer Portal from a template so customers can see their plan, see their usage, and upgrade on their own.
A note on what your engineers do
Nothing you do in these four steps requires a deploy. The plans, features, and allowances you configure take effect as soon as you save them.
Your application does need to be connected to Schematic once, so it knows which company is signed in, can report what that company uses, and can ask Schematic what that company is allowed to do. That connection is the other track, and it is a one-time job. Send an engineer to Instrument your app.
What’s next
Go deeper on the parts you touched:
- Build your catalog — plans, add-ons, trials, and how they fit together.
- Usage-based billing — charge by consumption, on its own or alongside seats.
- Components — checkout, meters, and paywalls beyond the Customer Portal.
- Overrides — give one company different limits without changing the plan.