Creating Components
Components are drop-in UI elements to quickly implement common billing scenarios. There are 2 main types of components that Schematic supports.
- Full page: Customer Portal and Checkout flow
- UI elements: Meters, Paywalls
In the online quickstart, you can see a setup component. Let’s quickly add one to our local quickstart app
Creating a component
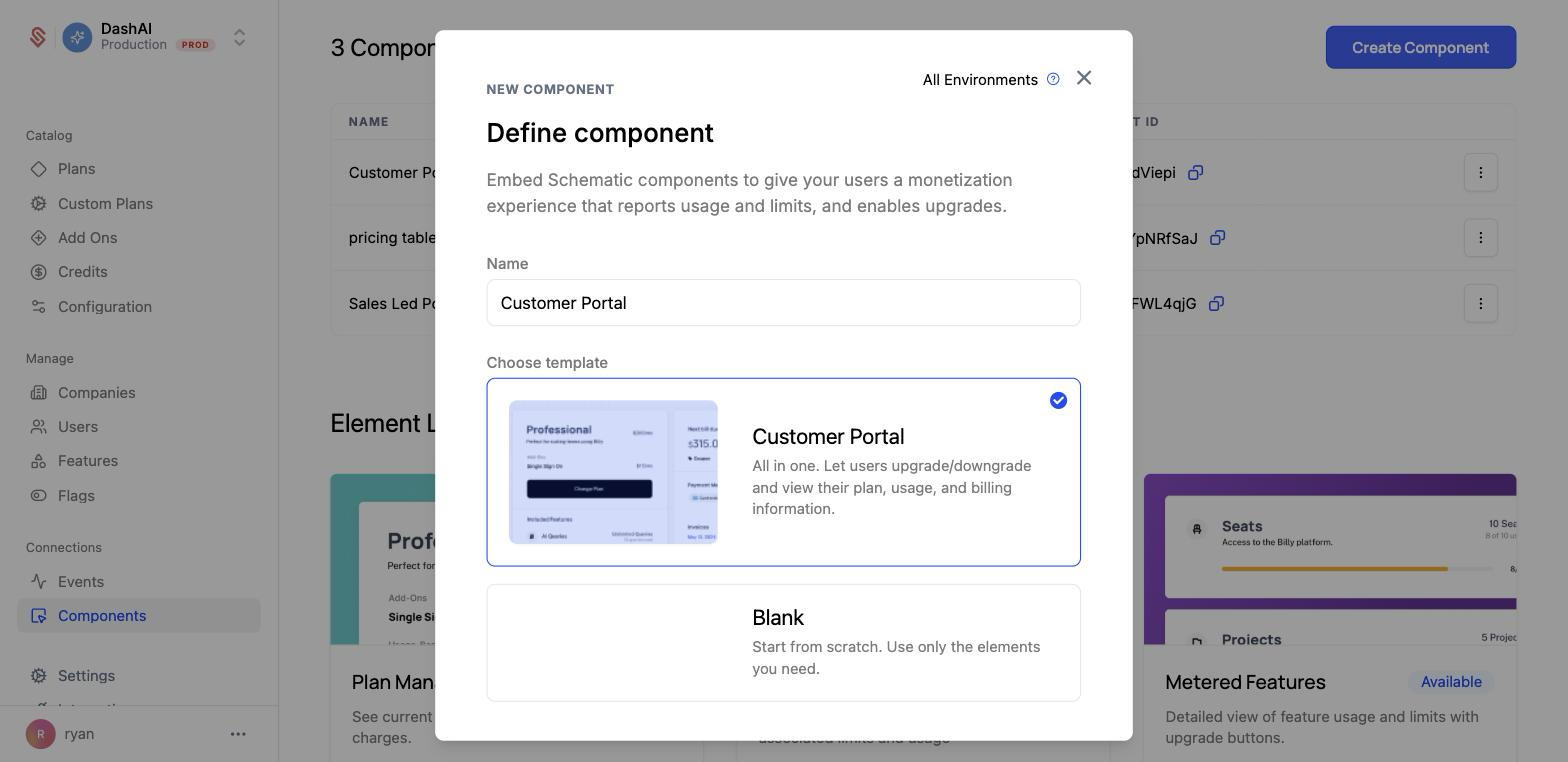
Components can be created through the “Components” tab within Schematic. We’re going to create a Customer Portal component, which is a fully built portal for customers to manage their current plan and conduct a checkout flow. This can be to start a paid plan, upgrade/downgrade to a different plan, or to add additional add ons to their current plan.
- Click “Create Component” in the top right.
- Give your component a name, e.g. “Customer Portal”.
- Under Choose template, select “Customer Portal” for this example.
- Click “Create”.
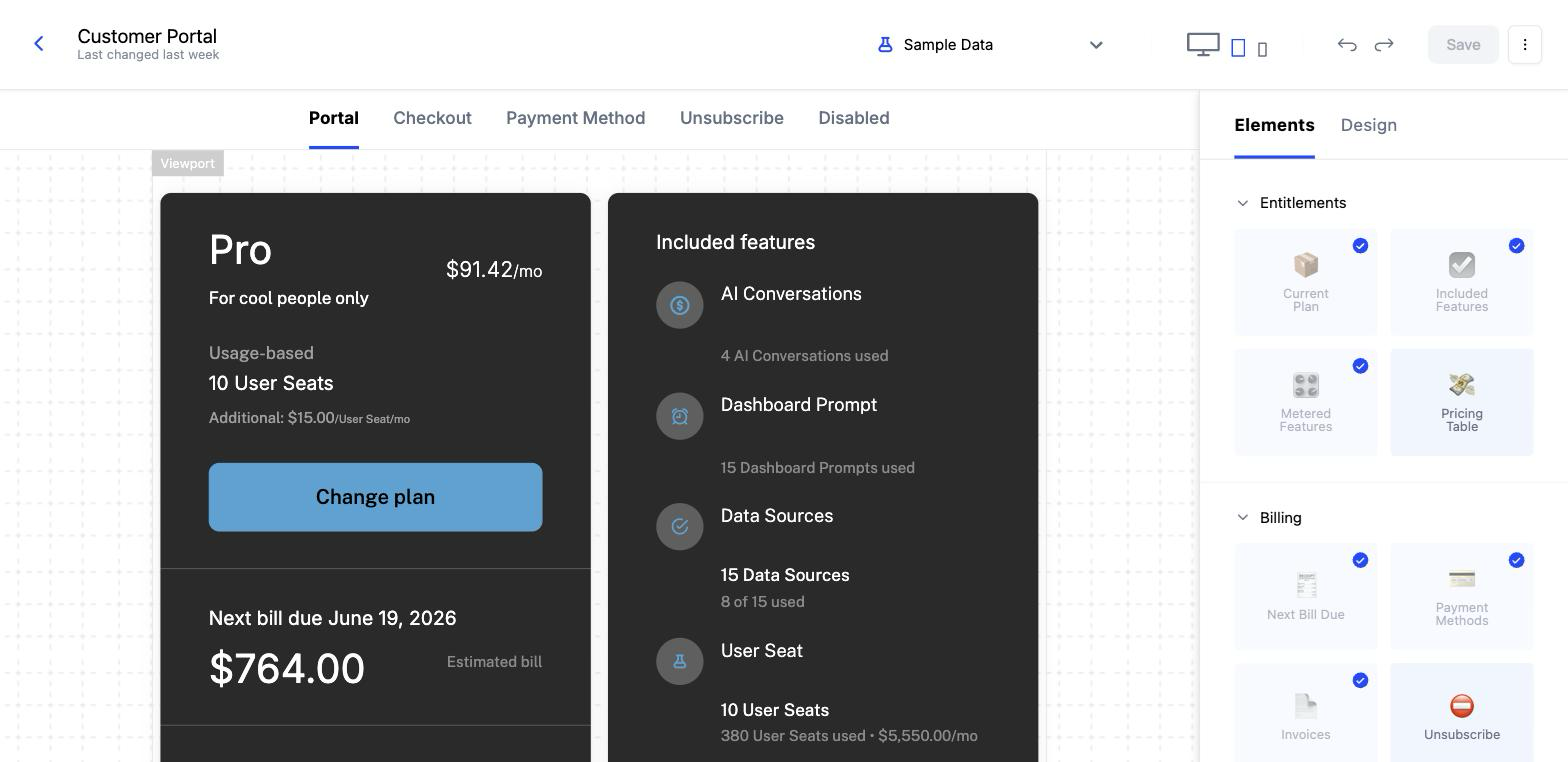
You can see that our component is fully built and ready to deploy. If you’d like to learn more about how to extend the Customer Portal or how to build UI elements like Meters and Paywalls, please refer to the Components docs.
To add our component to the quickstart app, we’ll need to get its component id and then add it to our quickstart’s .env.local file.
- Click the right 3-dot menu in the top right.
- Click the 2 rectangle icon to copy the component id.
- In our quickstart, paste the component id into the
NEXT_PUBLIC_SCHEMATIC_COMPONENT_IDfield of our.env.local. - Restart the quickstart app to make sure the
.env.localis reloaded. - Check out our component on the “Components” page or our quickstart app.
Temporary Access Tokens
Because components enable users to take sensitive actions like changing their billing status, Schematic requires an additional security step to render a component. This step is the creation of a temporary access token that is scoped to the current company. These tokens require a Schematic Secret Key, so they must be generated on your server (it is important to never expose a Schematic Secret Key to the client.)
All of our SDKs support creating temporary access tokens. The value for lookup is just the keys you’d use to look up the company (learn more here). Below is a TypeScript example.
We’re done!
You just created a fully featured Customer Portal and checkout flow. This is the most commonly used Schematic component, but there are many other ways to leverage components in Schematic.
Next steps
We recommend you checkout the Identifying Users page in the quickstart app to see how to create a fully featured Billing Portal.