For AI agents: a documentation index is available at the root level at /llms.txt and /llms-full.txt. Append /llms.txt to any URL for a page-level index, or .md for the markdown version of any page.
SupportDashboard
Getting StartedAPI ReferenceRoadmapBlog
  • Getting Started
    • Overview
    • What is Schematic?
    • Concepts
  • Using Schematic
    • Who Uses Schematic
  • Quickstart
    • Quickstart
    • Account Setup
    • Entitling a Feature
    • Tracking Usage
    • Components
    • Identifying Users
    • Setup the SDK
  • Using Feature Flags
    • Overview
    • Flags
    • Features
    • Tracking Feature Usage
    • Company Overrides
    • Feature Types
  • Building Your Catalog
    • Overview
    • Plans
    • Managing Company Plans
    • Configuring the Catalog
    • Add Ons
    • Trials
  • AI Tooling
    • For Developers
  • Setting Up Billing
    • Overview
    • Usage Based Billing Models
    • Seat Based Billing Models
    • Credit burndown
  • Using UI Components
    • Overview
  • Developer Resources
    • Concepts
    • Key Management
    • Environments
    • Entity Relationship Diagram
  • Production Readiness
    • Availability
    • Observability & Support
    • Security
  • Integrations
    • Segment Integration
    • Clerk Integration
    • WorkOS Integration
    • Salesforce Integration
    • Hubspot Integration
  • Playbooks
    • Overview
    • Creating a metered feature
    • Backfills and usage corrections
    • Rolling out beta functionality with Flags
    • Handling customer exceptions and feature trials
    • Automatically provision customers using Stripe
    • Build a slack webhook
LogoLogo
SupportDashboard
On this page
  • Getting started
  • Additional Context
Integrations

Segment Integration

Was this page helpful?
Previous

Clerk Integration

Next
Built with

Segment is the easiest way to send events from your application to Schematic. If you already have Segment up and running in your application, Schematic recommends this approach so you don’t have to implement any additional code.

Why use the integration?

  • Keep user and company profiles up to date with the latest context
  • Set up and enforce metered features
  • Track usage of your product across your customer base
  • Use traits and usage in plan audiences and in rule-based targeting for flags
Getting started

  1. From your Segment web app, navigate to Connections > Catalog > Destinations.
  2. Search for Schematic, select the Schematic destination, and click Add destination.
  3. Select the source that will send data to Schematic, give your destination a name, then click Create destination.
  4. On the destination’s Settings tab, input your Schematic API Key. To generate an API key, navigate to your Schematic workspace settings under Settings > API Keys.

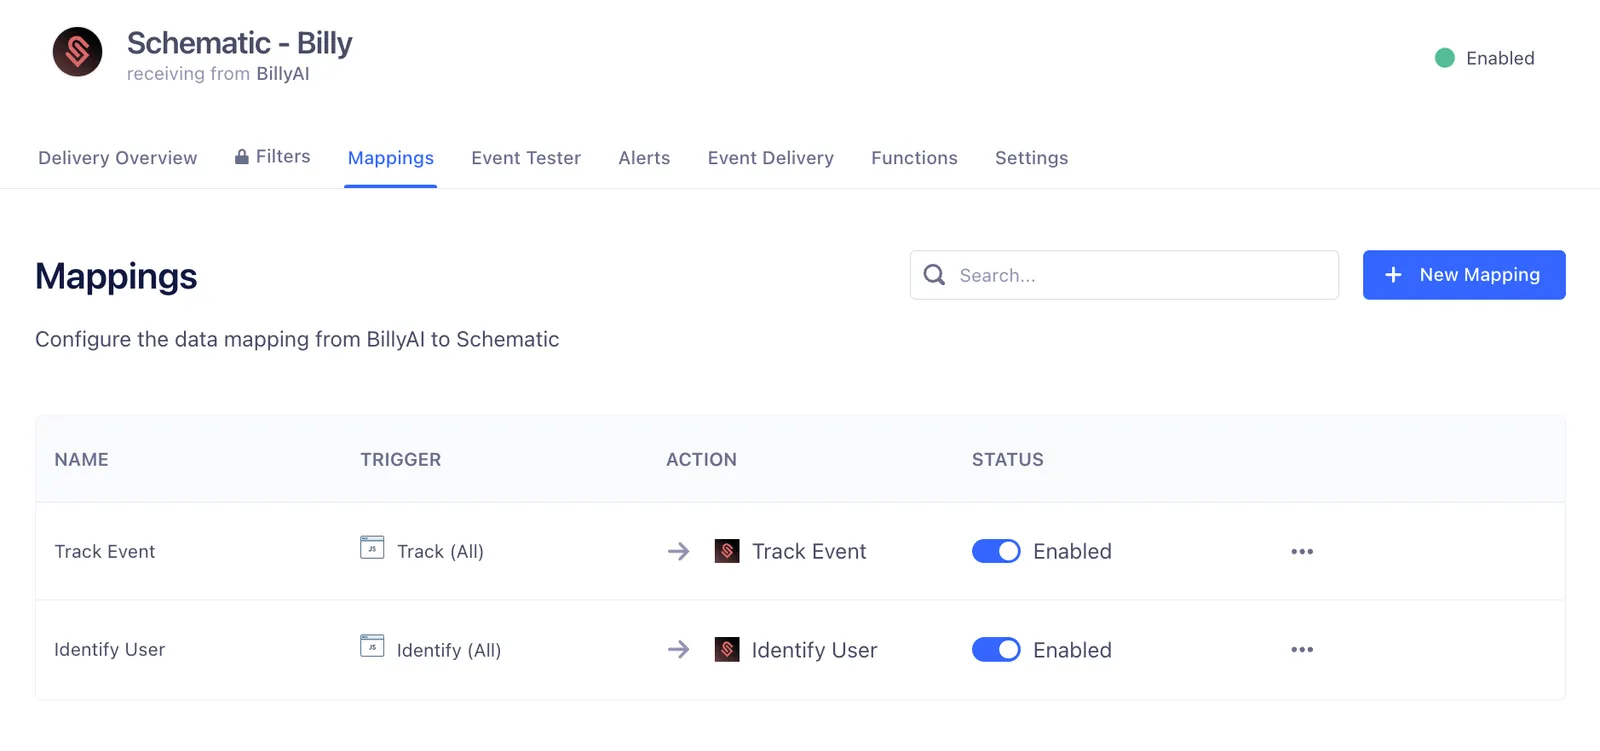
Once you’ve connected Schematic to Segment, you can configure how you want to send data to Schematic in the Schematic destination’s Mappings tab.

You can read more about the Schematic destination here.

Additional Context

Schematic only accepts Track event names that contain alphanumeric characters, dashes, and underscores. If your Segment event names have other characters, like spaces, the Schematic destination automatically snake_cases the event name before passing to Schematic. Segment passes the raw event name as an event trait.