Account Setup
Create a Schematic account
First, you’ll need to create a Schematic account. This is free and will only take a few minutes.
1. Create an account
Go to Schematic and create an account with your Google account, or Github account, or email.
This flow will ask you a few simple questions about your company.
2. Create an API Key
- First, create a file at the root of your project called
.env.local. Copy the contents of.env.sampleto.env.local, which will provide you the names of the 2 keys we’ll setup here (the components one we’ll setup later). - Click Settings (the gear icon) at the bottom of the left navigation.
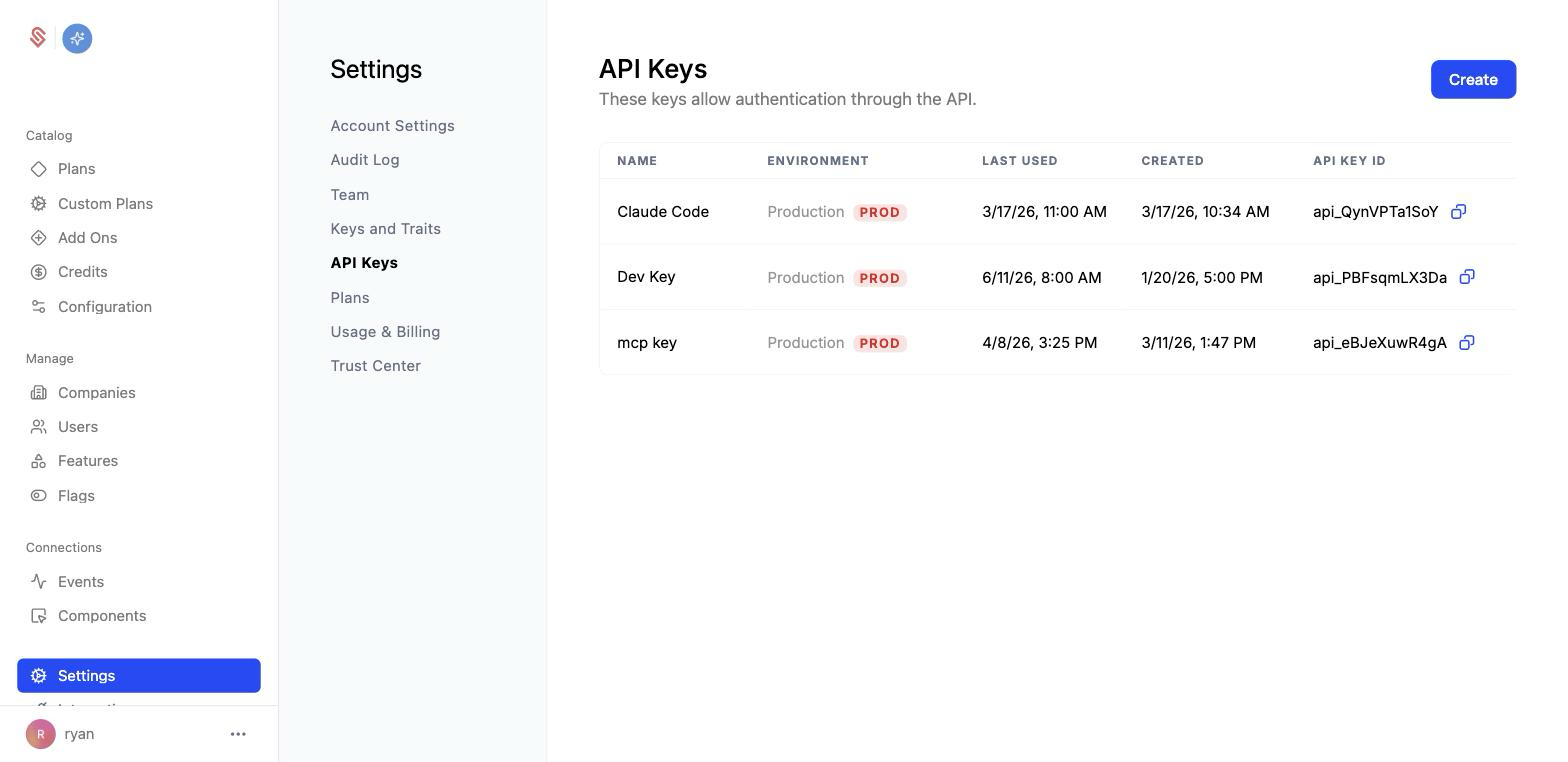
- Click “API Keys” in the Settings menu.
- Click “Create” in the top right
- Give the key a name, e.g. “Quickstart”
- Click “Create”
- Copy the publishable key and secret key, and add them to the
.env.localfile. - NOTE: the secret key is never shown again, so make sure to save it in a secure location. You can always create a new key if you lose it.
3. Create Sample data
On the Quickstart page in your Schematic account, click the “Generate Sample Data” button. This will create a demo customer, plan, and a few features.
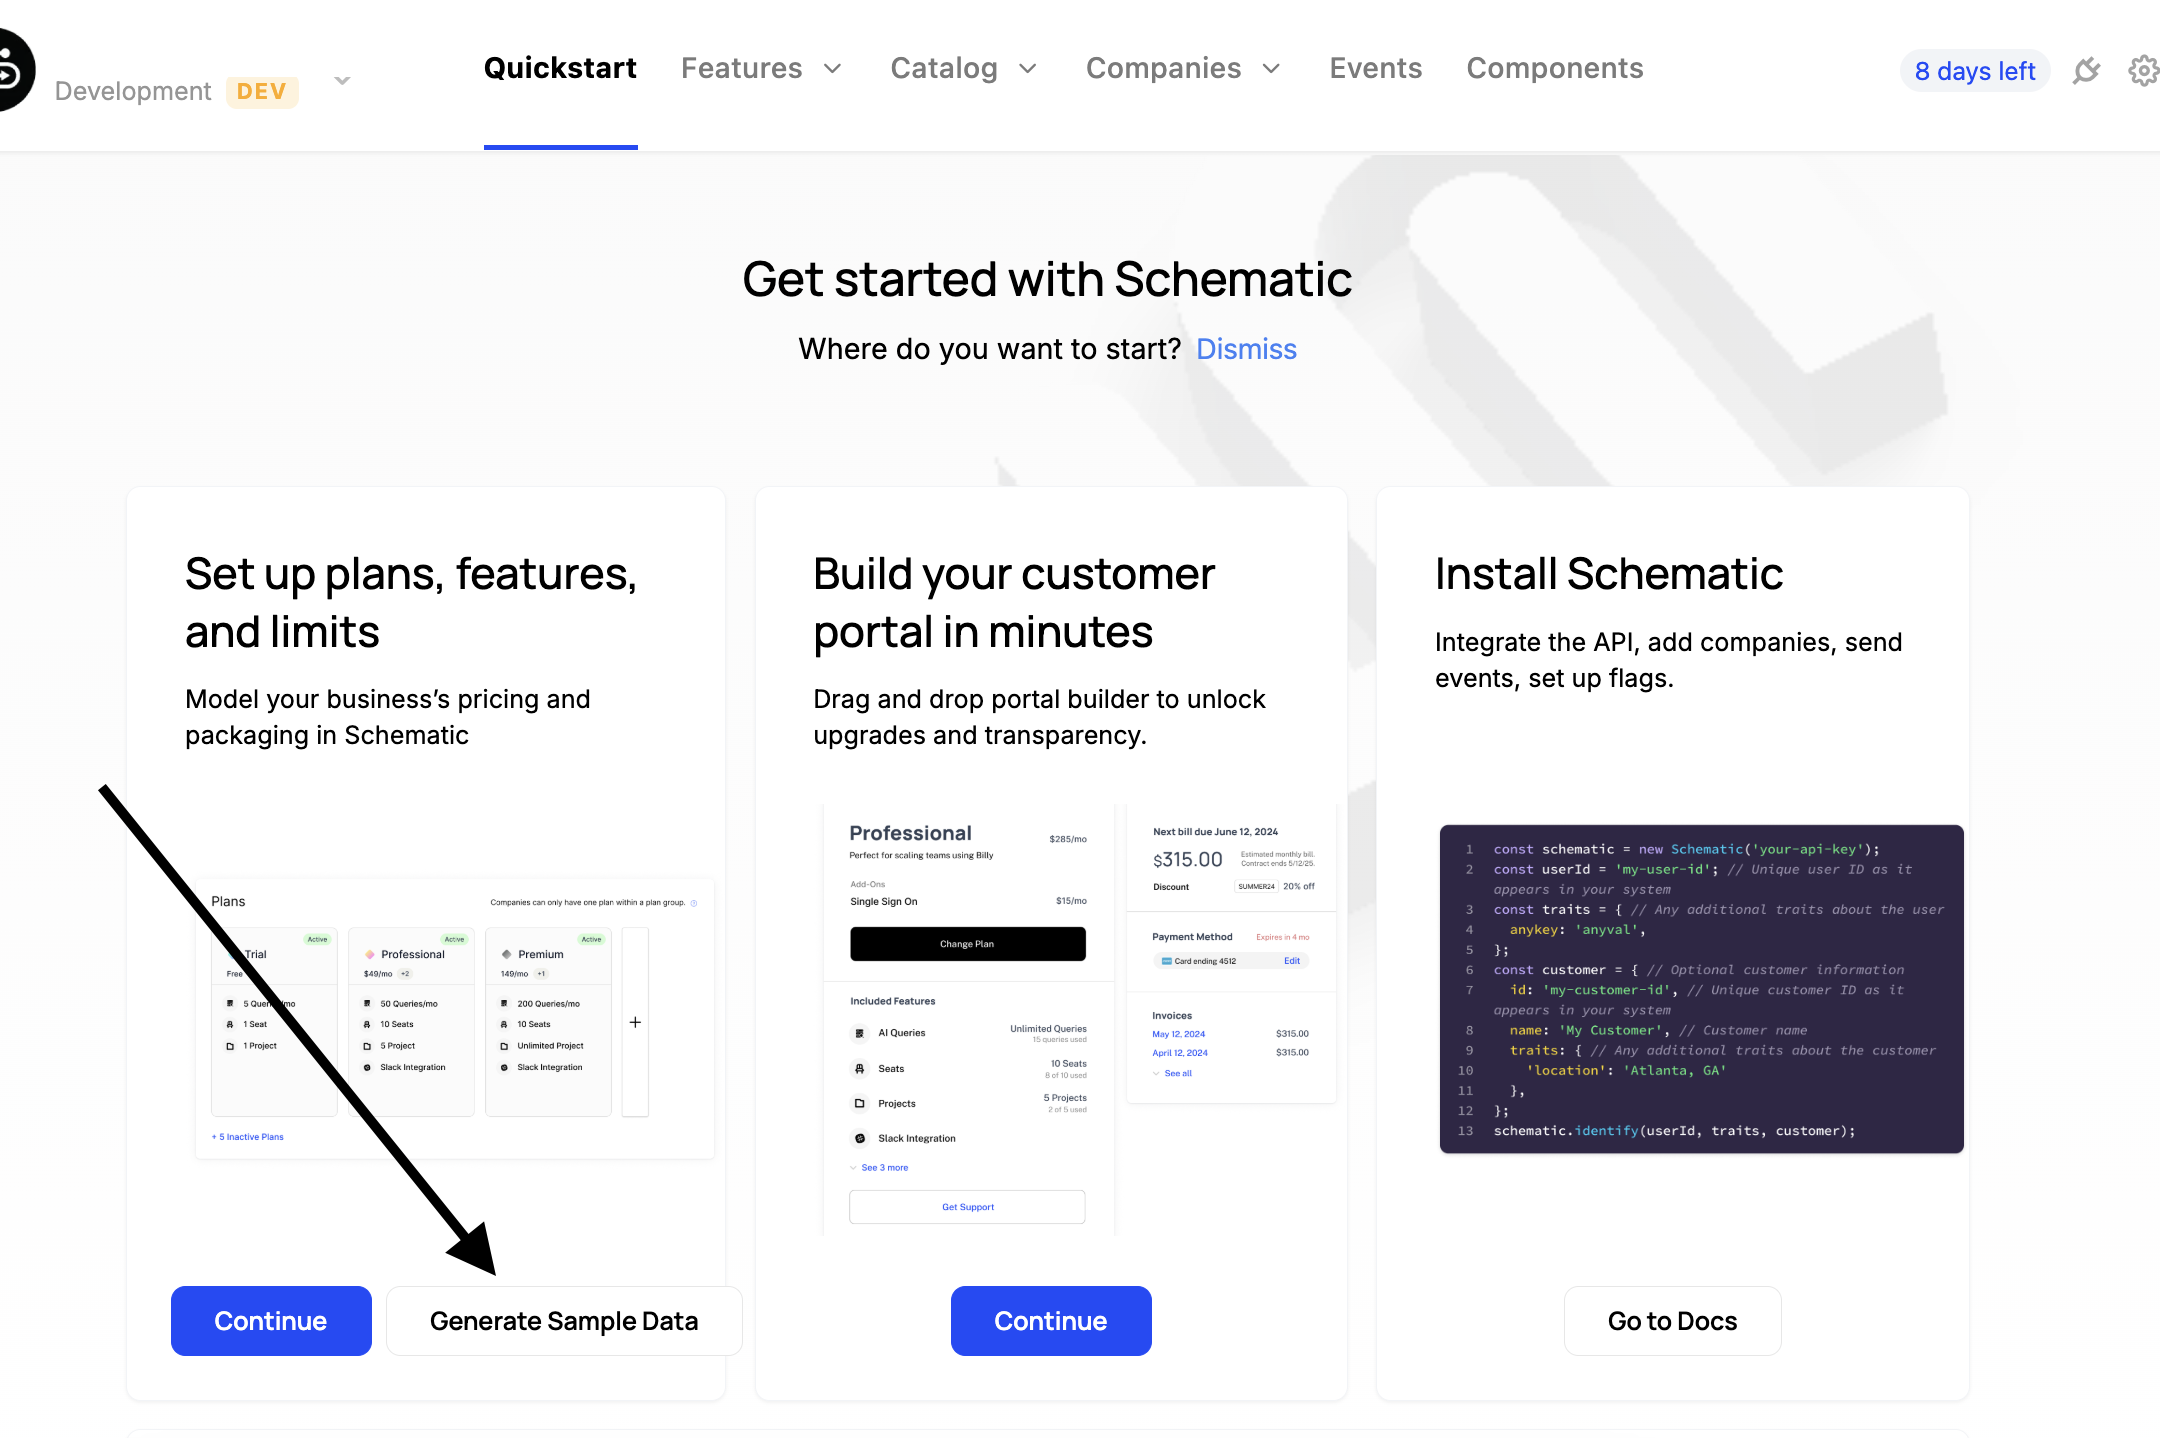
The sample data is only for demonstration purposes. You can delete freely delete it when you’ve finished the quickstart.
Next steps
We recommend you checkout the entitlements page in the quickstart app to see how to a feature to a plan.