Setting up your First Plans
Schematic is able to support many different types of pricing models. This guide will walk through the process of setting up a basic pricing model with 2 plans (free and paid) and a few features. The goal is to walk through the process of setting up a basic pricing model in Schematic ending with a working checkout flow that your users can use.
Getting Started: Stripe
Before we get started, you should link your Stripe account to the Schematic environment. We recommend starting with a Sandbox Stripe account connected to your Dev Schematic environment for testing.
For more details, see our Stripe Integration Guide.
Setting up your Plans
Let’s first setup 2 plans:
- A free plan we’ll call “Starter” which all new customers will start on. This will have access to some, but not all of the features we’ll be creating.
- A paid plan we’ll call “Pro” which will have access to all of the features we’ll be creating.
Creating the Starter Plan
To create a plan, navigate to the Plans tab in the Catalog and click the Create Plan button.
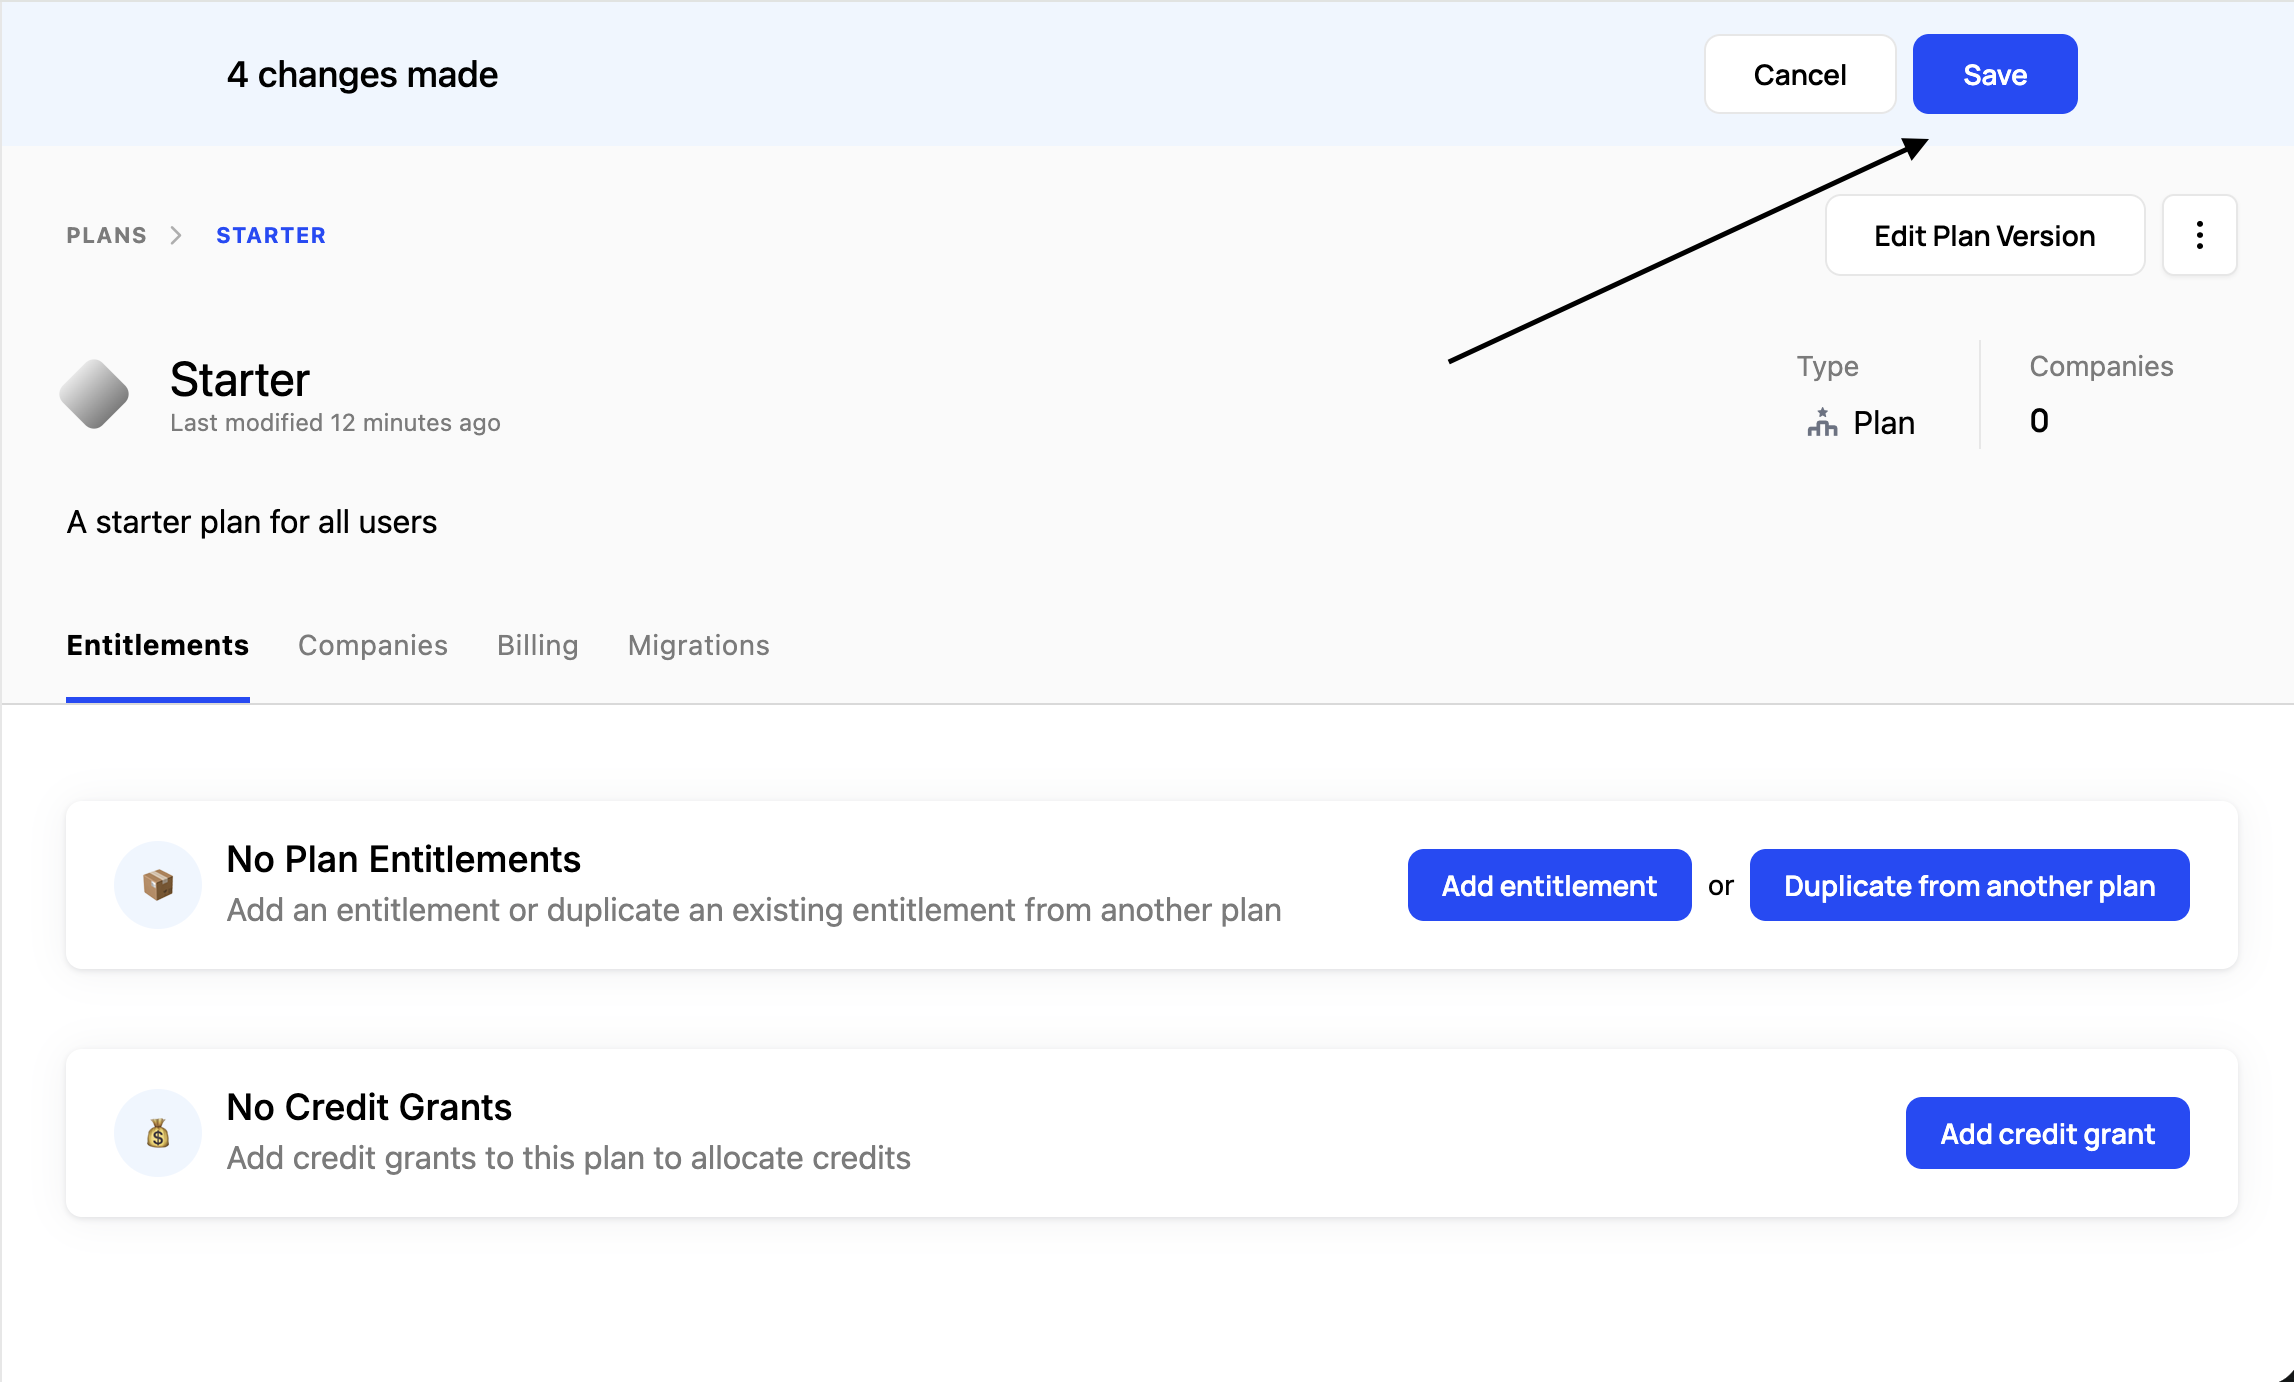
Set the name of the plan to “Starter”. We’ll leave this as a “Free” plan that is not integrated with Stripe. Click “Done” to create the plan.

Now click “Save” in the top right to save this version, and then “Publish” to publish this. We now have created our Starter Plan.
Creating the Pro Plan
To create a plan, navigate to the Plans tab in the Catalog and click the Create Plan button.
Set the name of the plan to “Pro”, we’ll make this a “Paid” plan and link this it to Stripe.
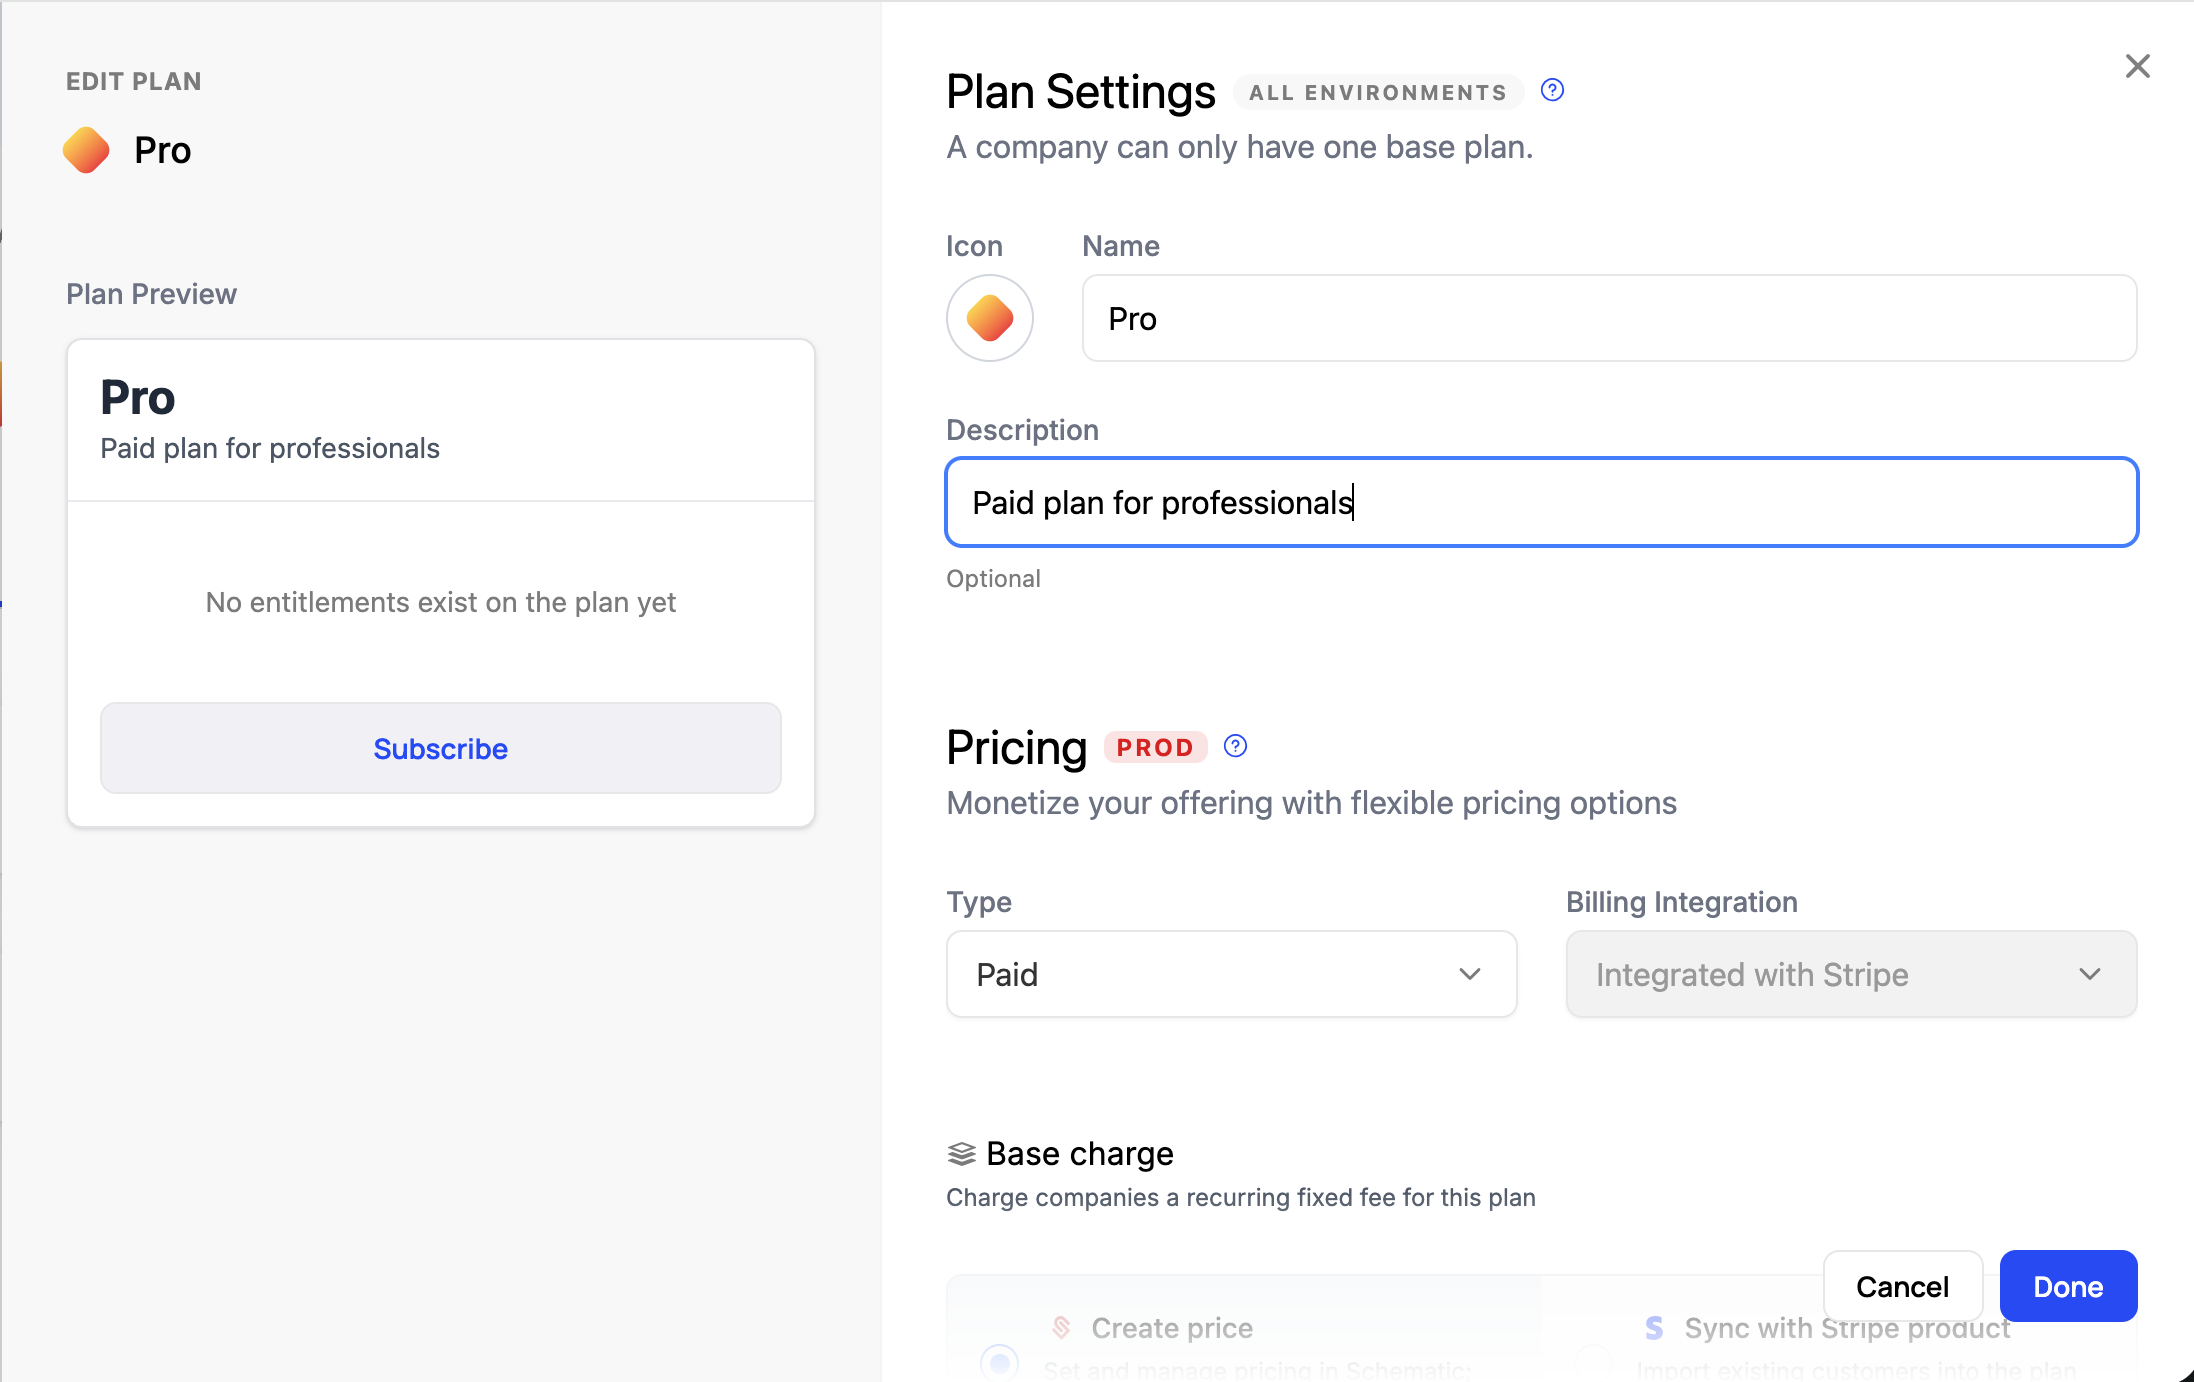
For this example, we’ll create a new product in Stripe and new prices for monthly and yearly.
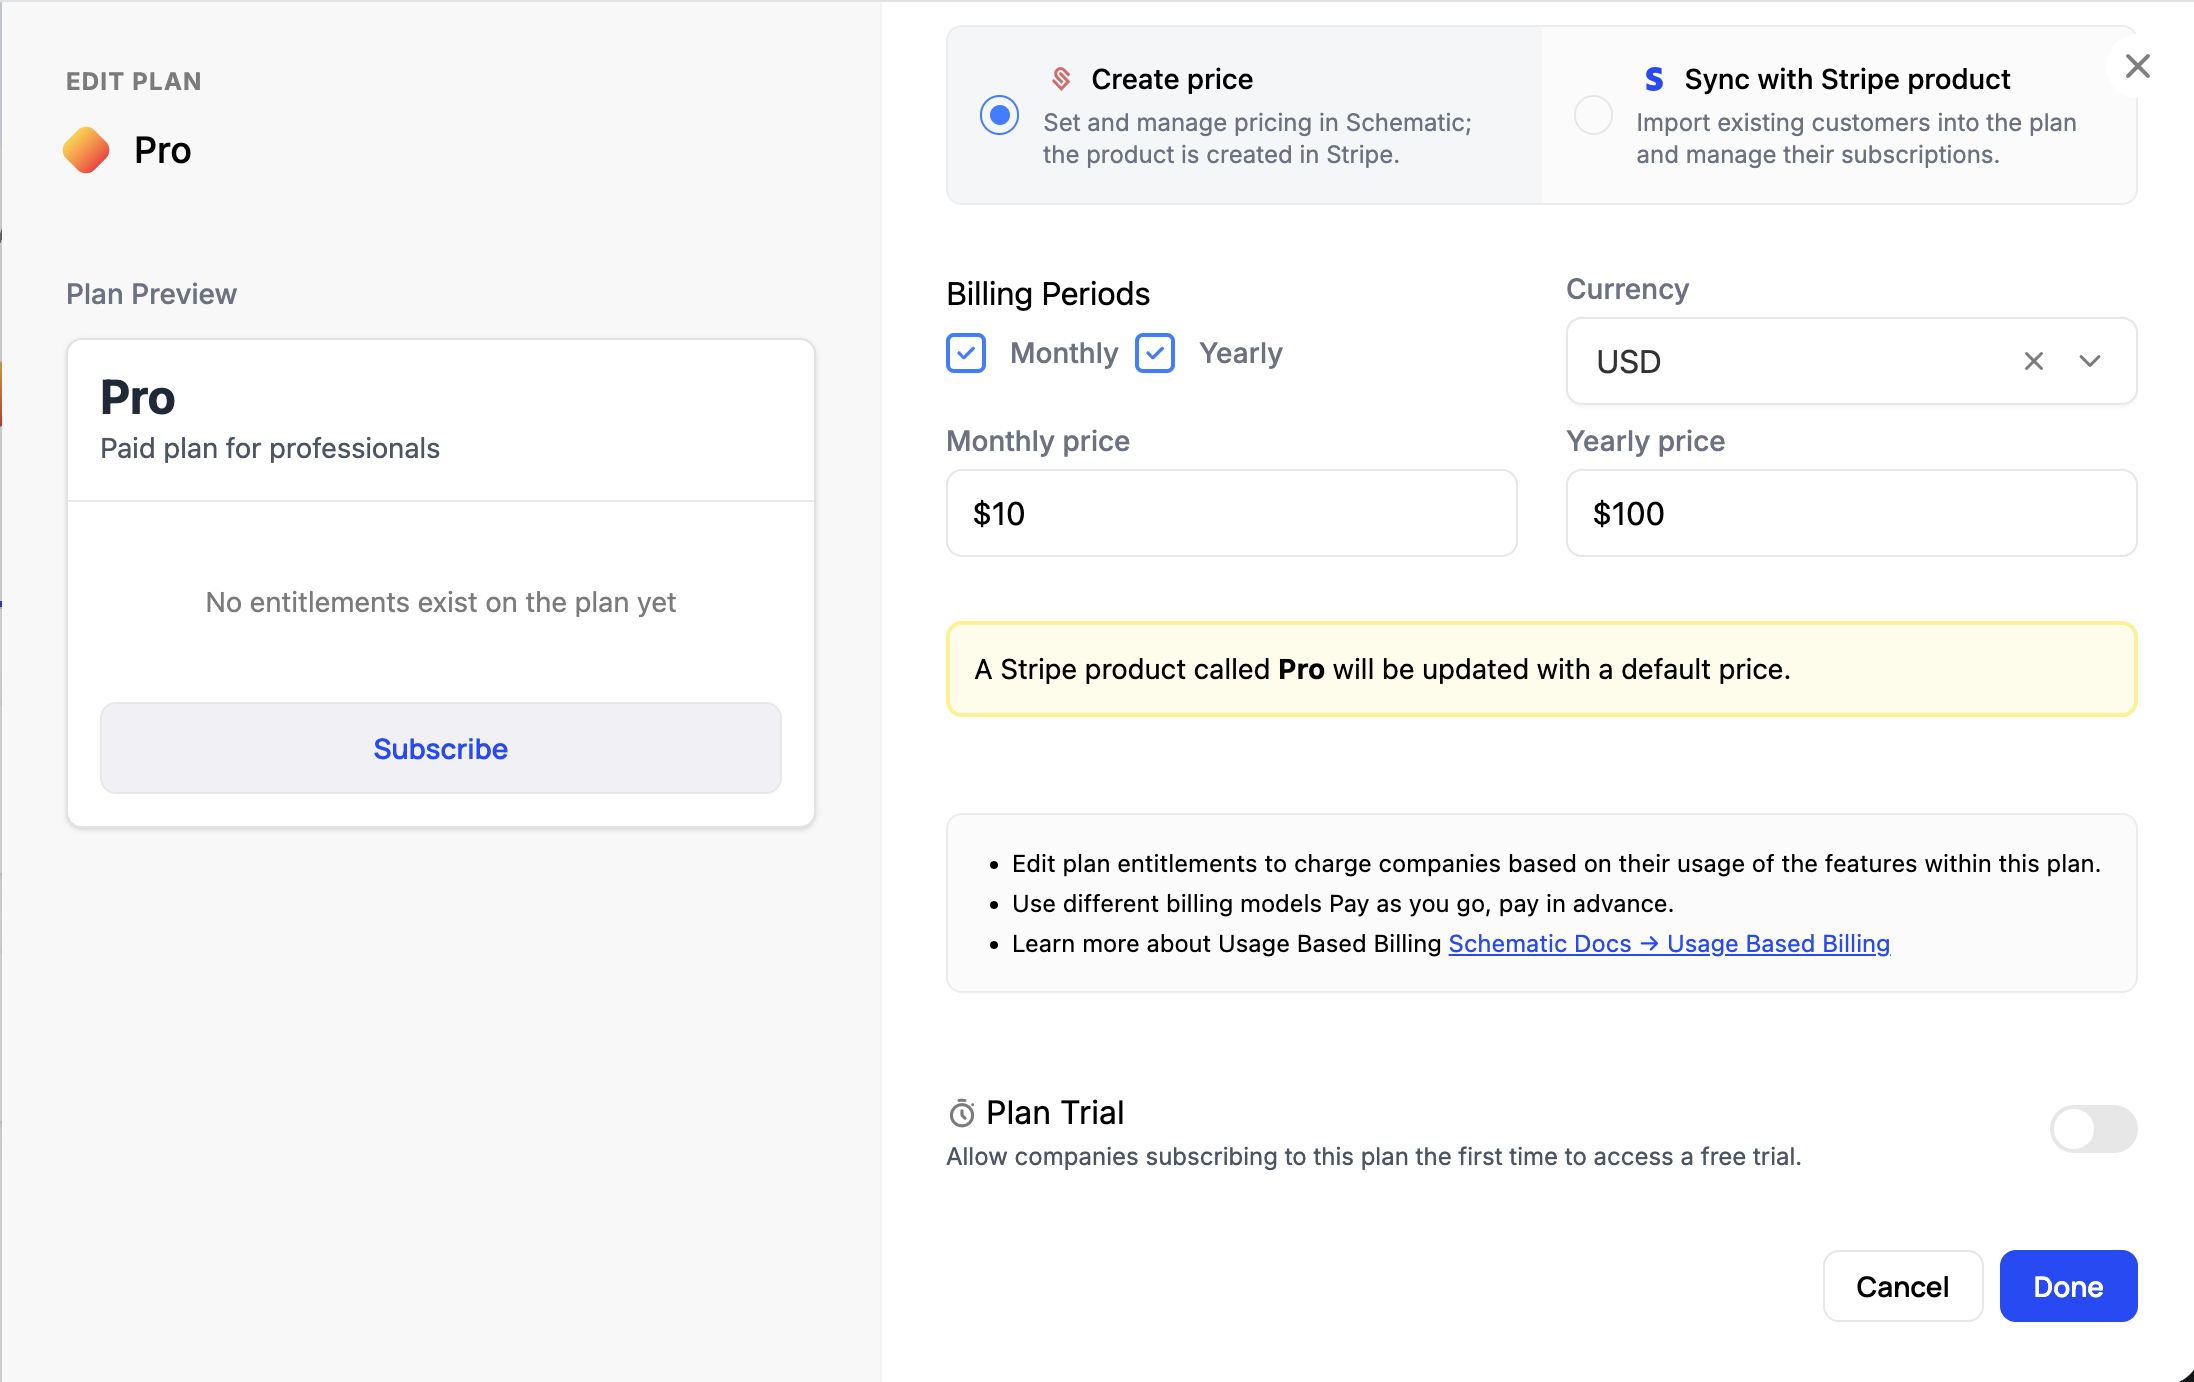
We’ll skip setuping up a Trial for now. Click “Done” to create the plan draft. Then Save and publish the draft as before.
Creating Features and Adding them to your plans
We’ll create 2 features:
- A “Boolean” feature that we’ll call “Reporting” which will allow our users to access reporting features. Both plans will have access to this feature.
- A “Boolean” feature that we’ll call “AI Suggestions” which will allow our users to access AI suggestions. Only the Pro plan will have access to this feature.
To create a feature, navigate to the Features tab in the Catalog and click the Create Feature button.
Set the name of the feature to “Reporting”, and leave the feature type as “Boolean” and click Continue. A boolean feature is a feature that is either on or off.
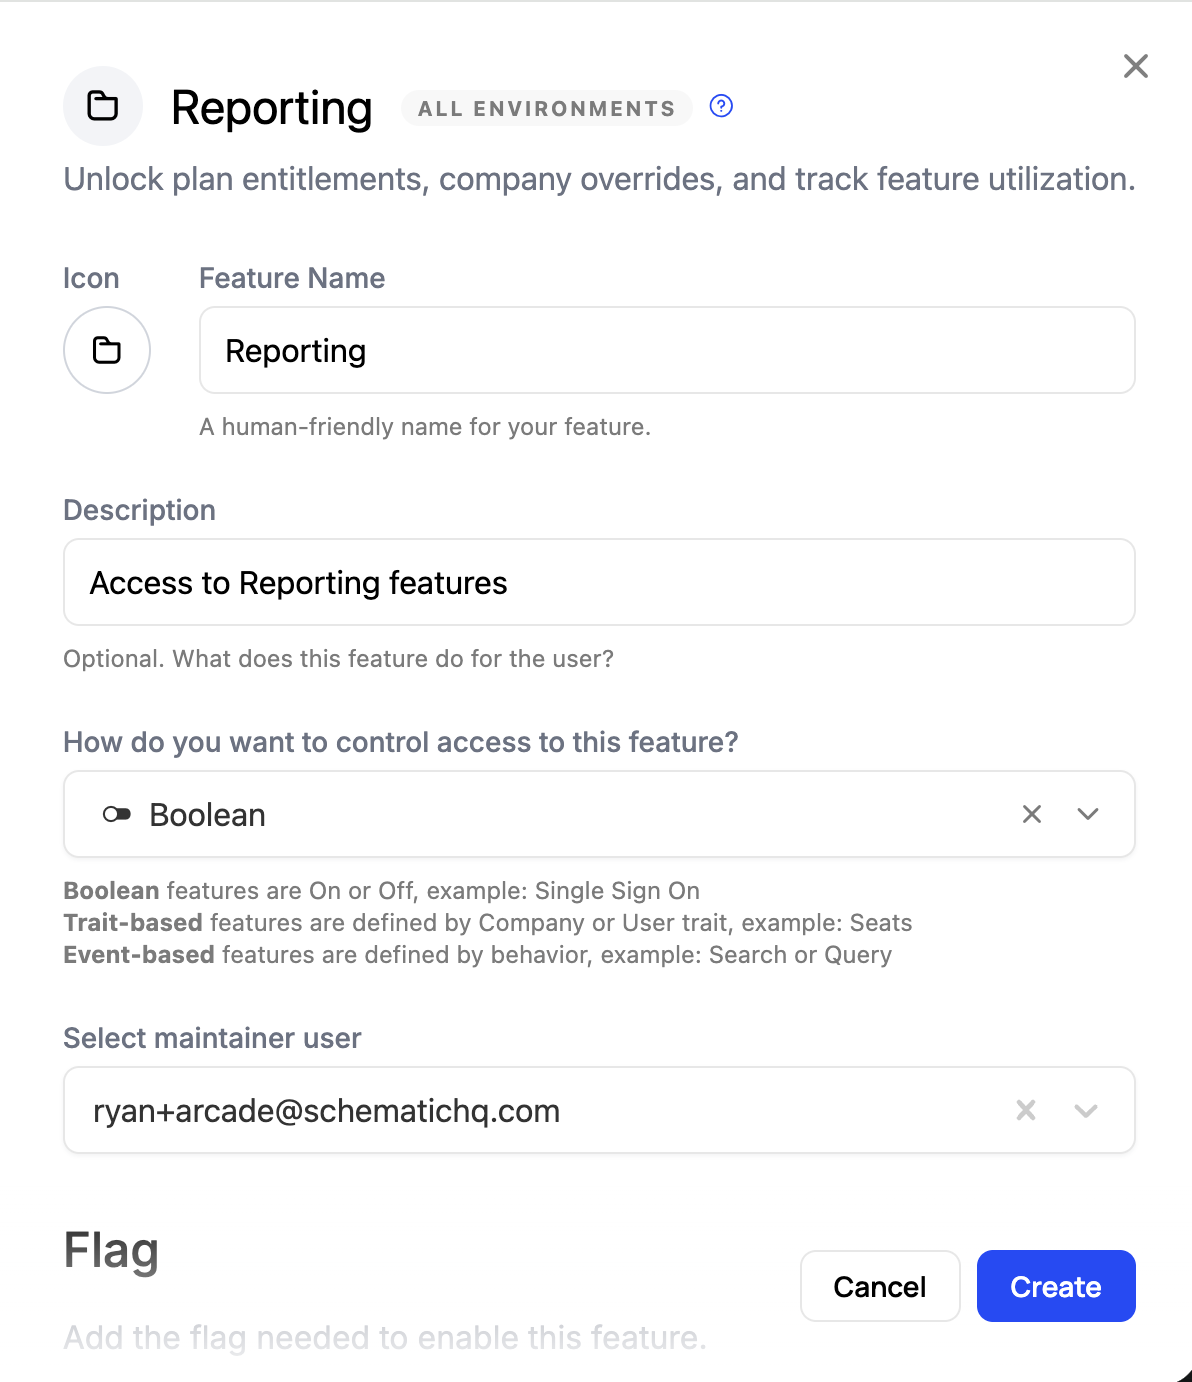
Next, we’ll set the flag key to “reporting” (this will autofill based on the feature name). This feature won’t need an event, so we’ll leave that blank. Finally, we’ll click “Create” to finish creating the feature.
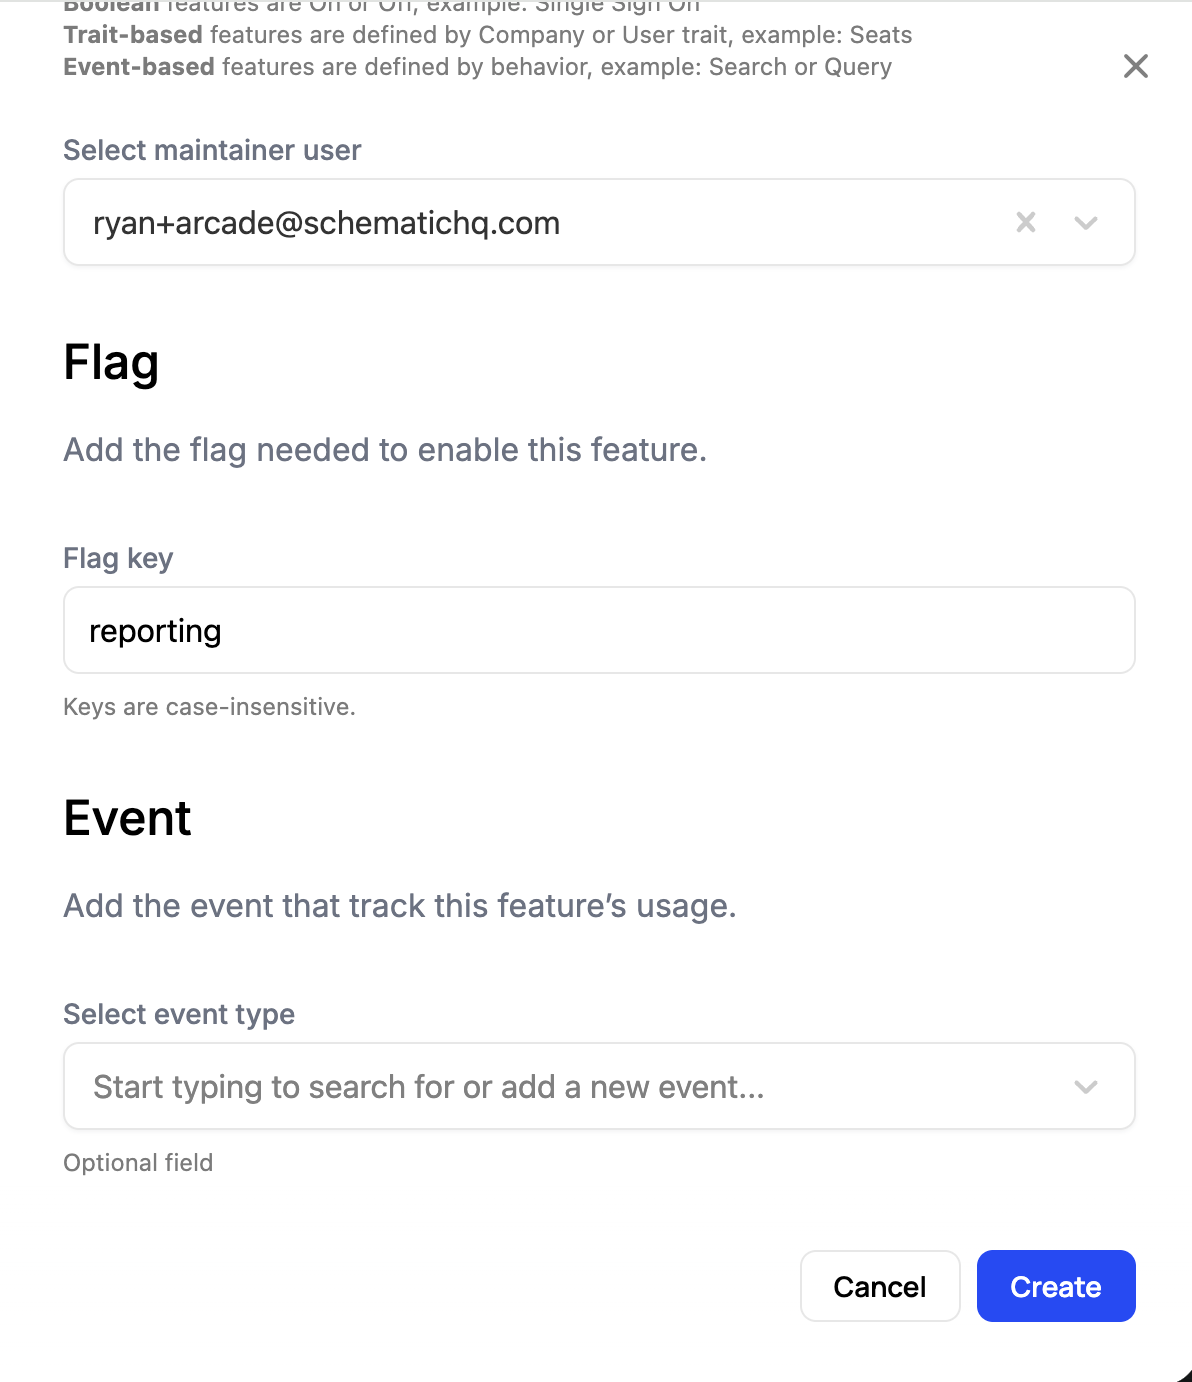
reporting, is what you’ll use in your codebase to access this featureNow make a second feature called “AI Suggestions” and set the flag key to “ai-suggestions”.
Entitle Features to Plans
Next, we’ll “entitle” these features to our plans. An “Entitlement” is the billing term for the features that a plan allows it’s customers access to.
First, go to the Starter plan and click the “Add Feature” button.

In the modal, select the “Reporting” feature and click “Continue”. This will add the feature to the plan.
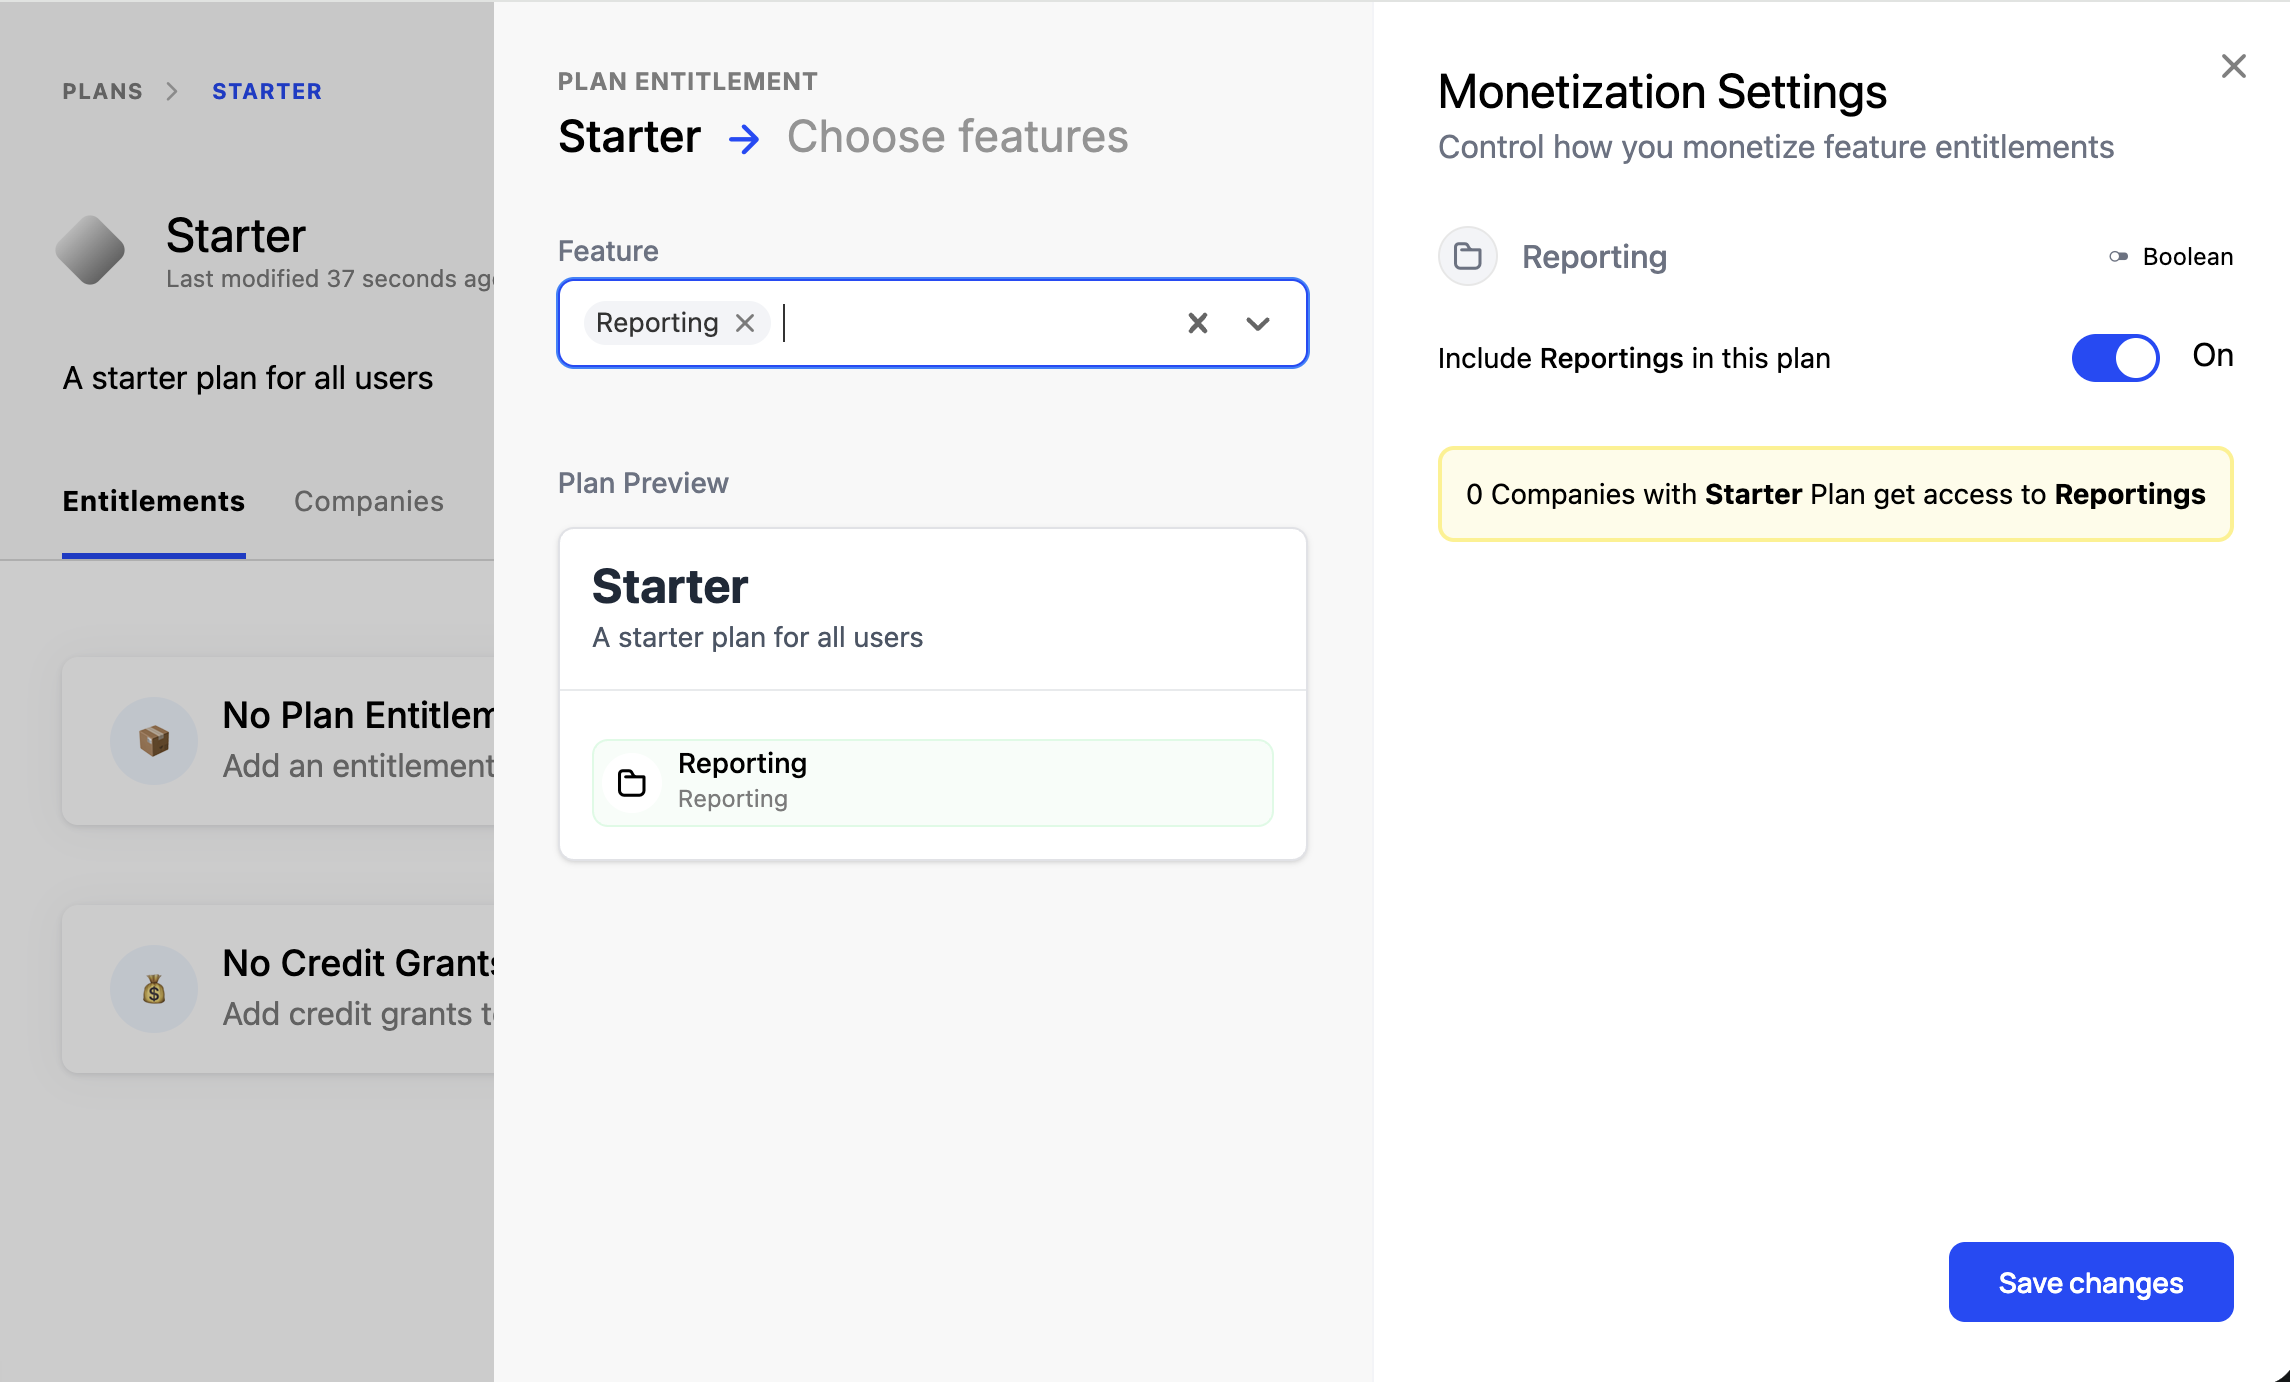
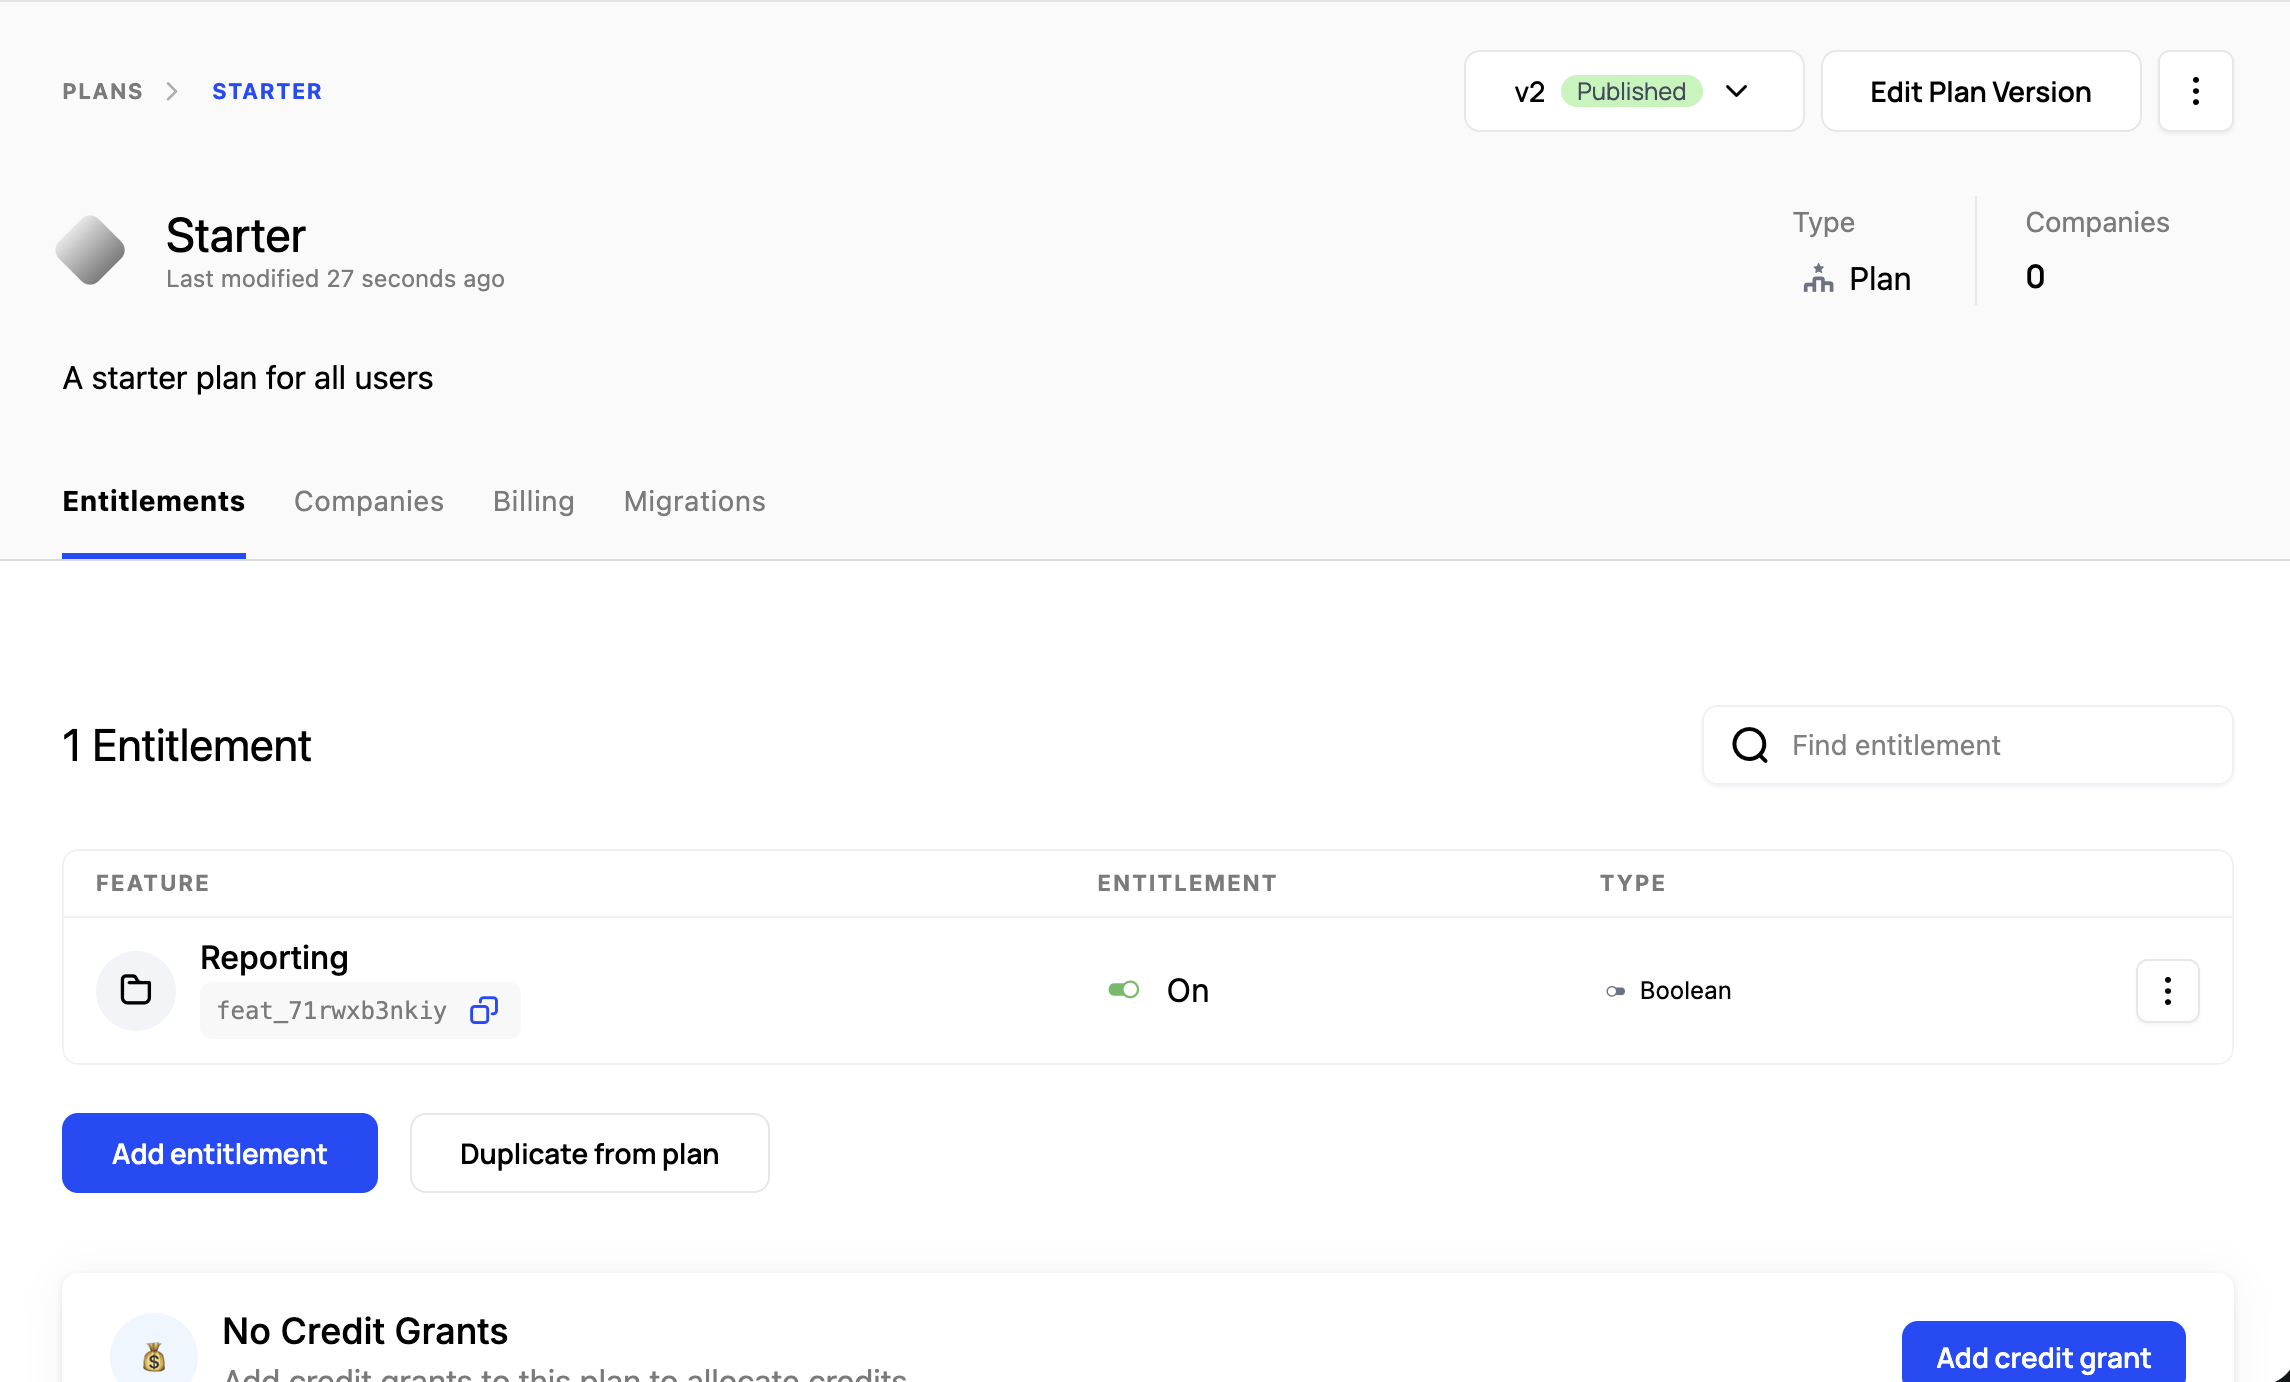
Your plan should now show the “Reporting” entitlement.
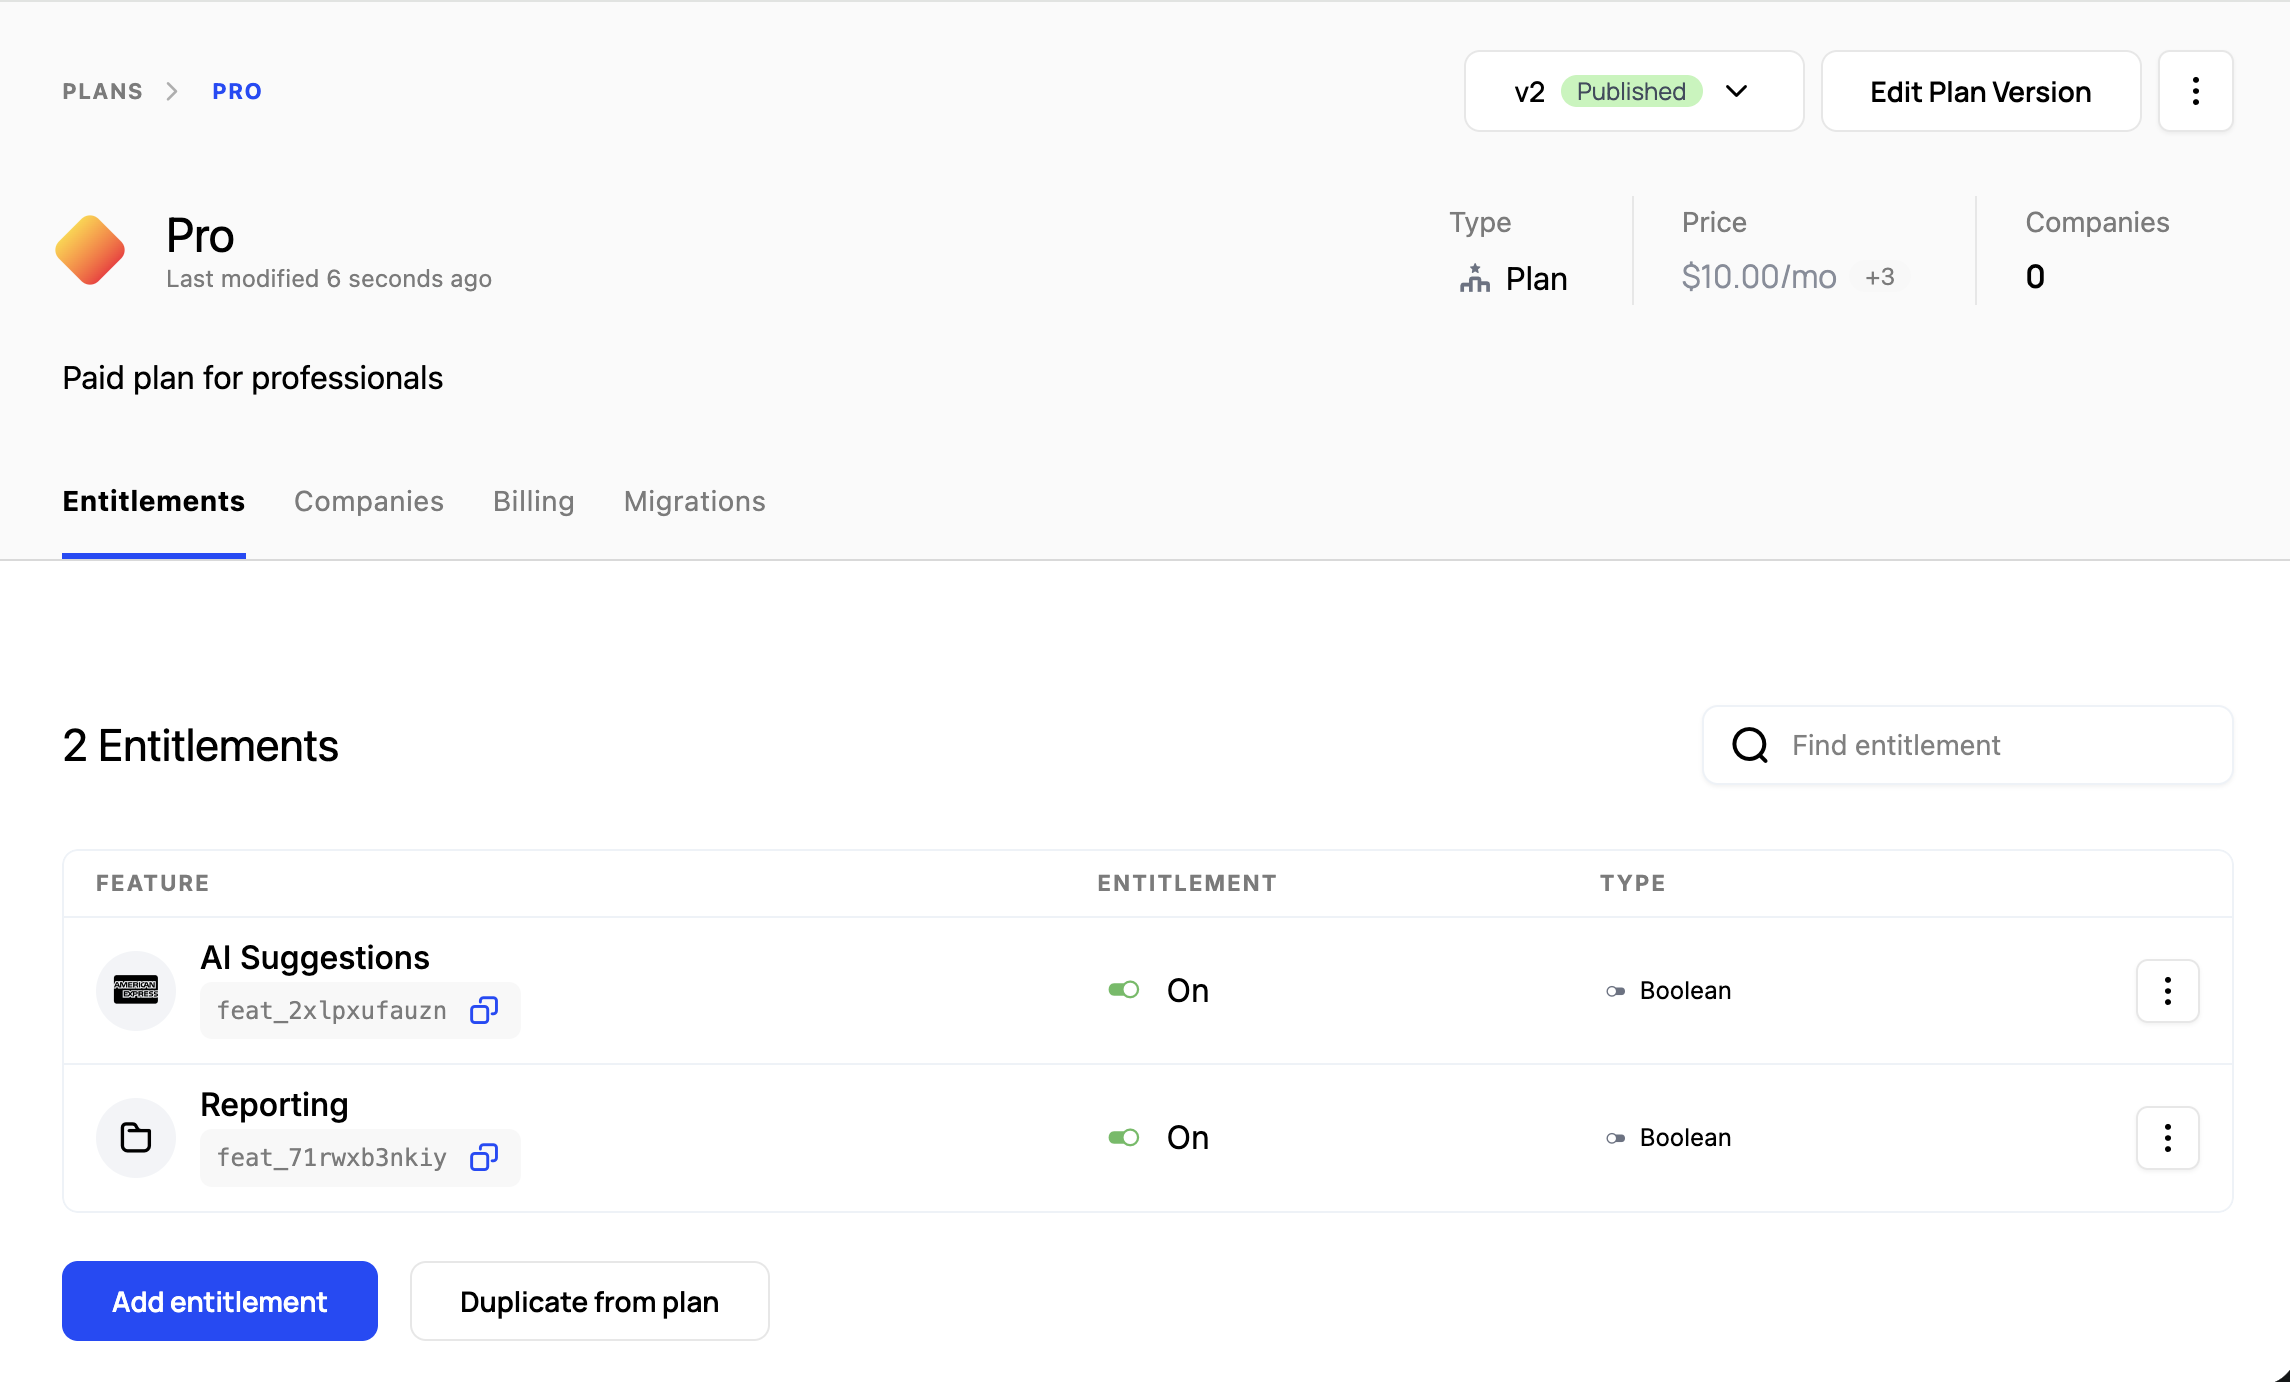
Next, go to the “Pro” plan page and follow the same steps to add the “Reporting” and “AI Suggestions” features. It should look like this when you’re finished.
Configuring our Catalog
There are a few steps we want to take to make these plans available to our customers.
- Set the “Starter” plan as the Initial Plan for new sign-ups
- Configure a Fallback Plan for companies without an active subscription
- Set up a Trial Expiry Plan for when trials end
- Add the “Pro” plan to Live Plans to make it available for upgrades
To start, open the Configuration tab of the plans section (Plans > Configuration). Configure each plan type according to their requirements, then add the “Pro” plan to the Live Plans list. Click “Save” in the top right of the screen to apply the changes.

Confirming with a component
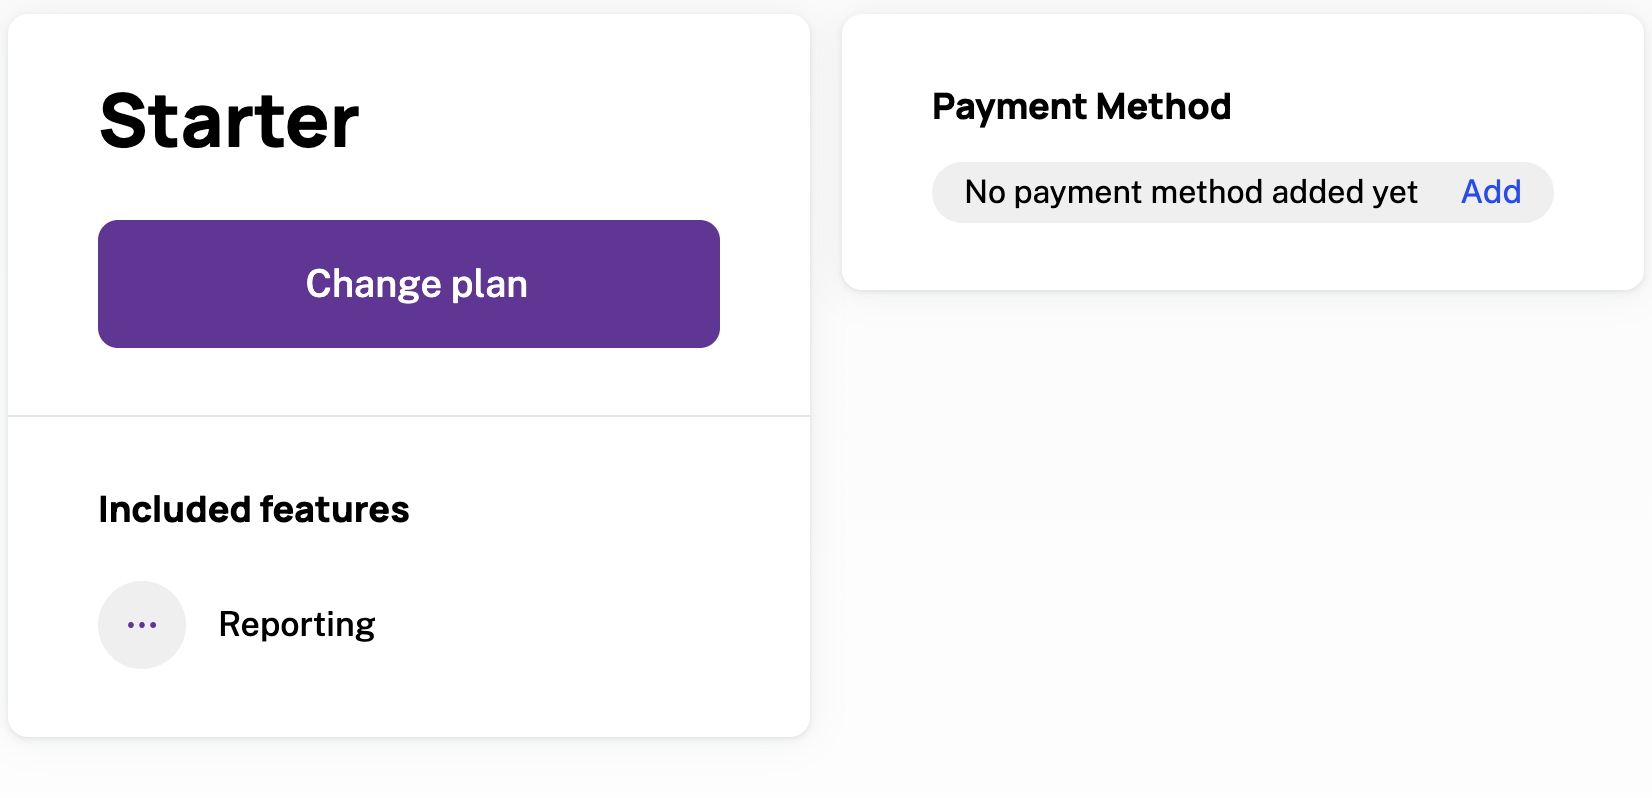
If you have the customer portal setup in your application, you can confirm that the plans are working by navigating to the customer portal and checking the plan you’re on. It should look like this, with the “Starter” plan selected and the “Change Plan” button visible.
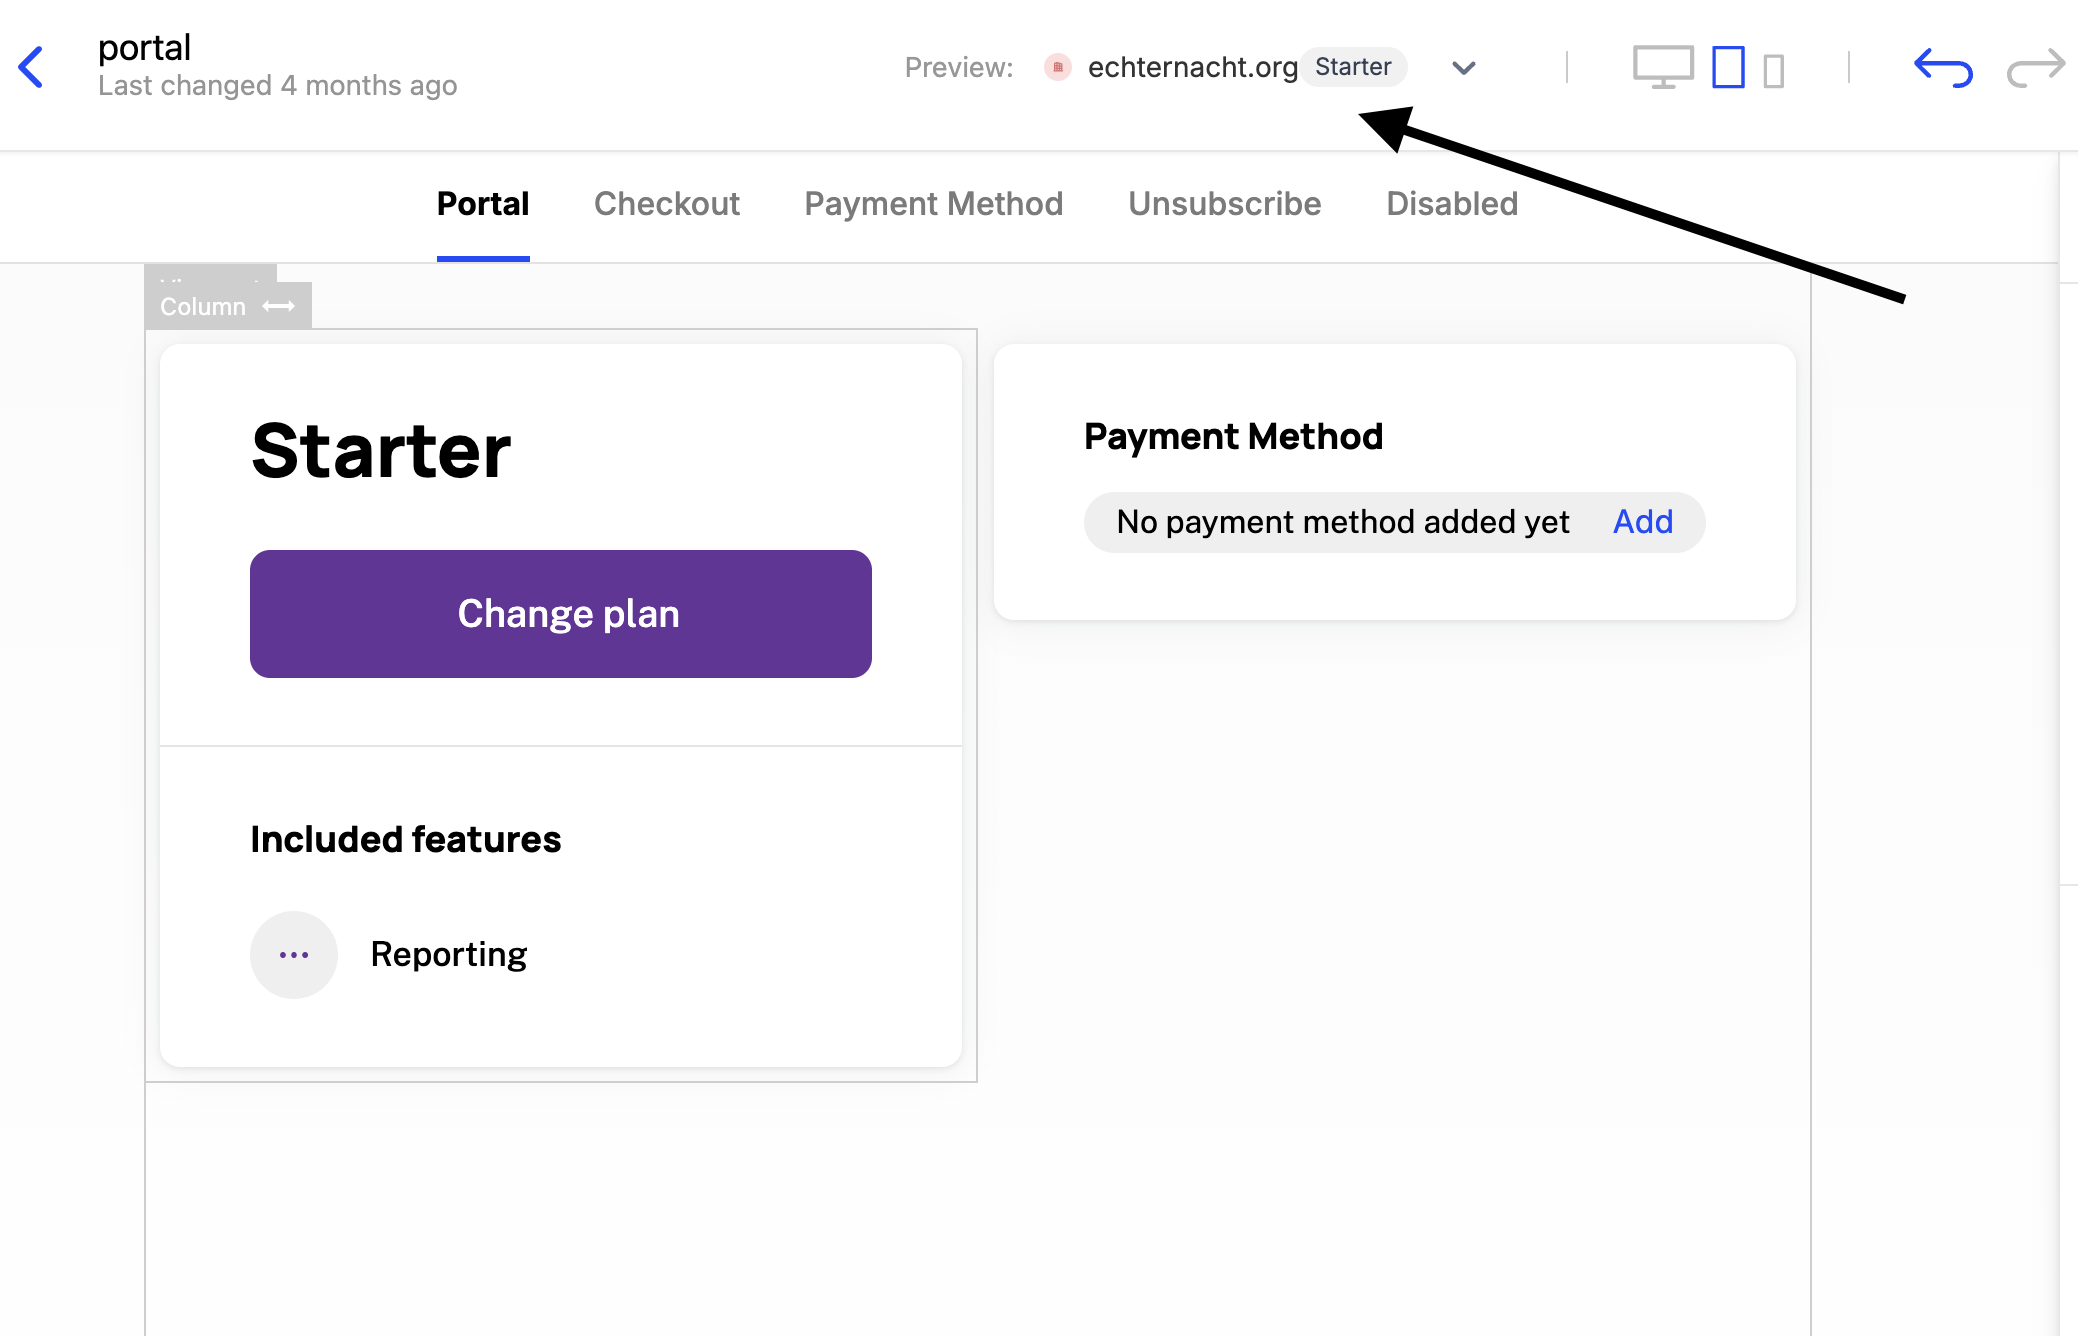
If you haven’t set components yet, you can also see this in the component builder. Make sure to select one of your Starter plan companies from the dropdown at the top.
Rolling out new plan versions
For more information about continuing to manage existing plans, see our guide on rolling out new plan versions.