Roles & Permissions
Roles & Permissions
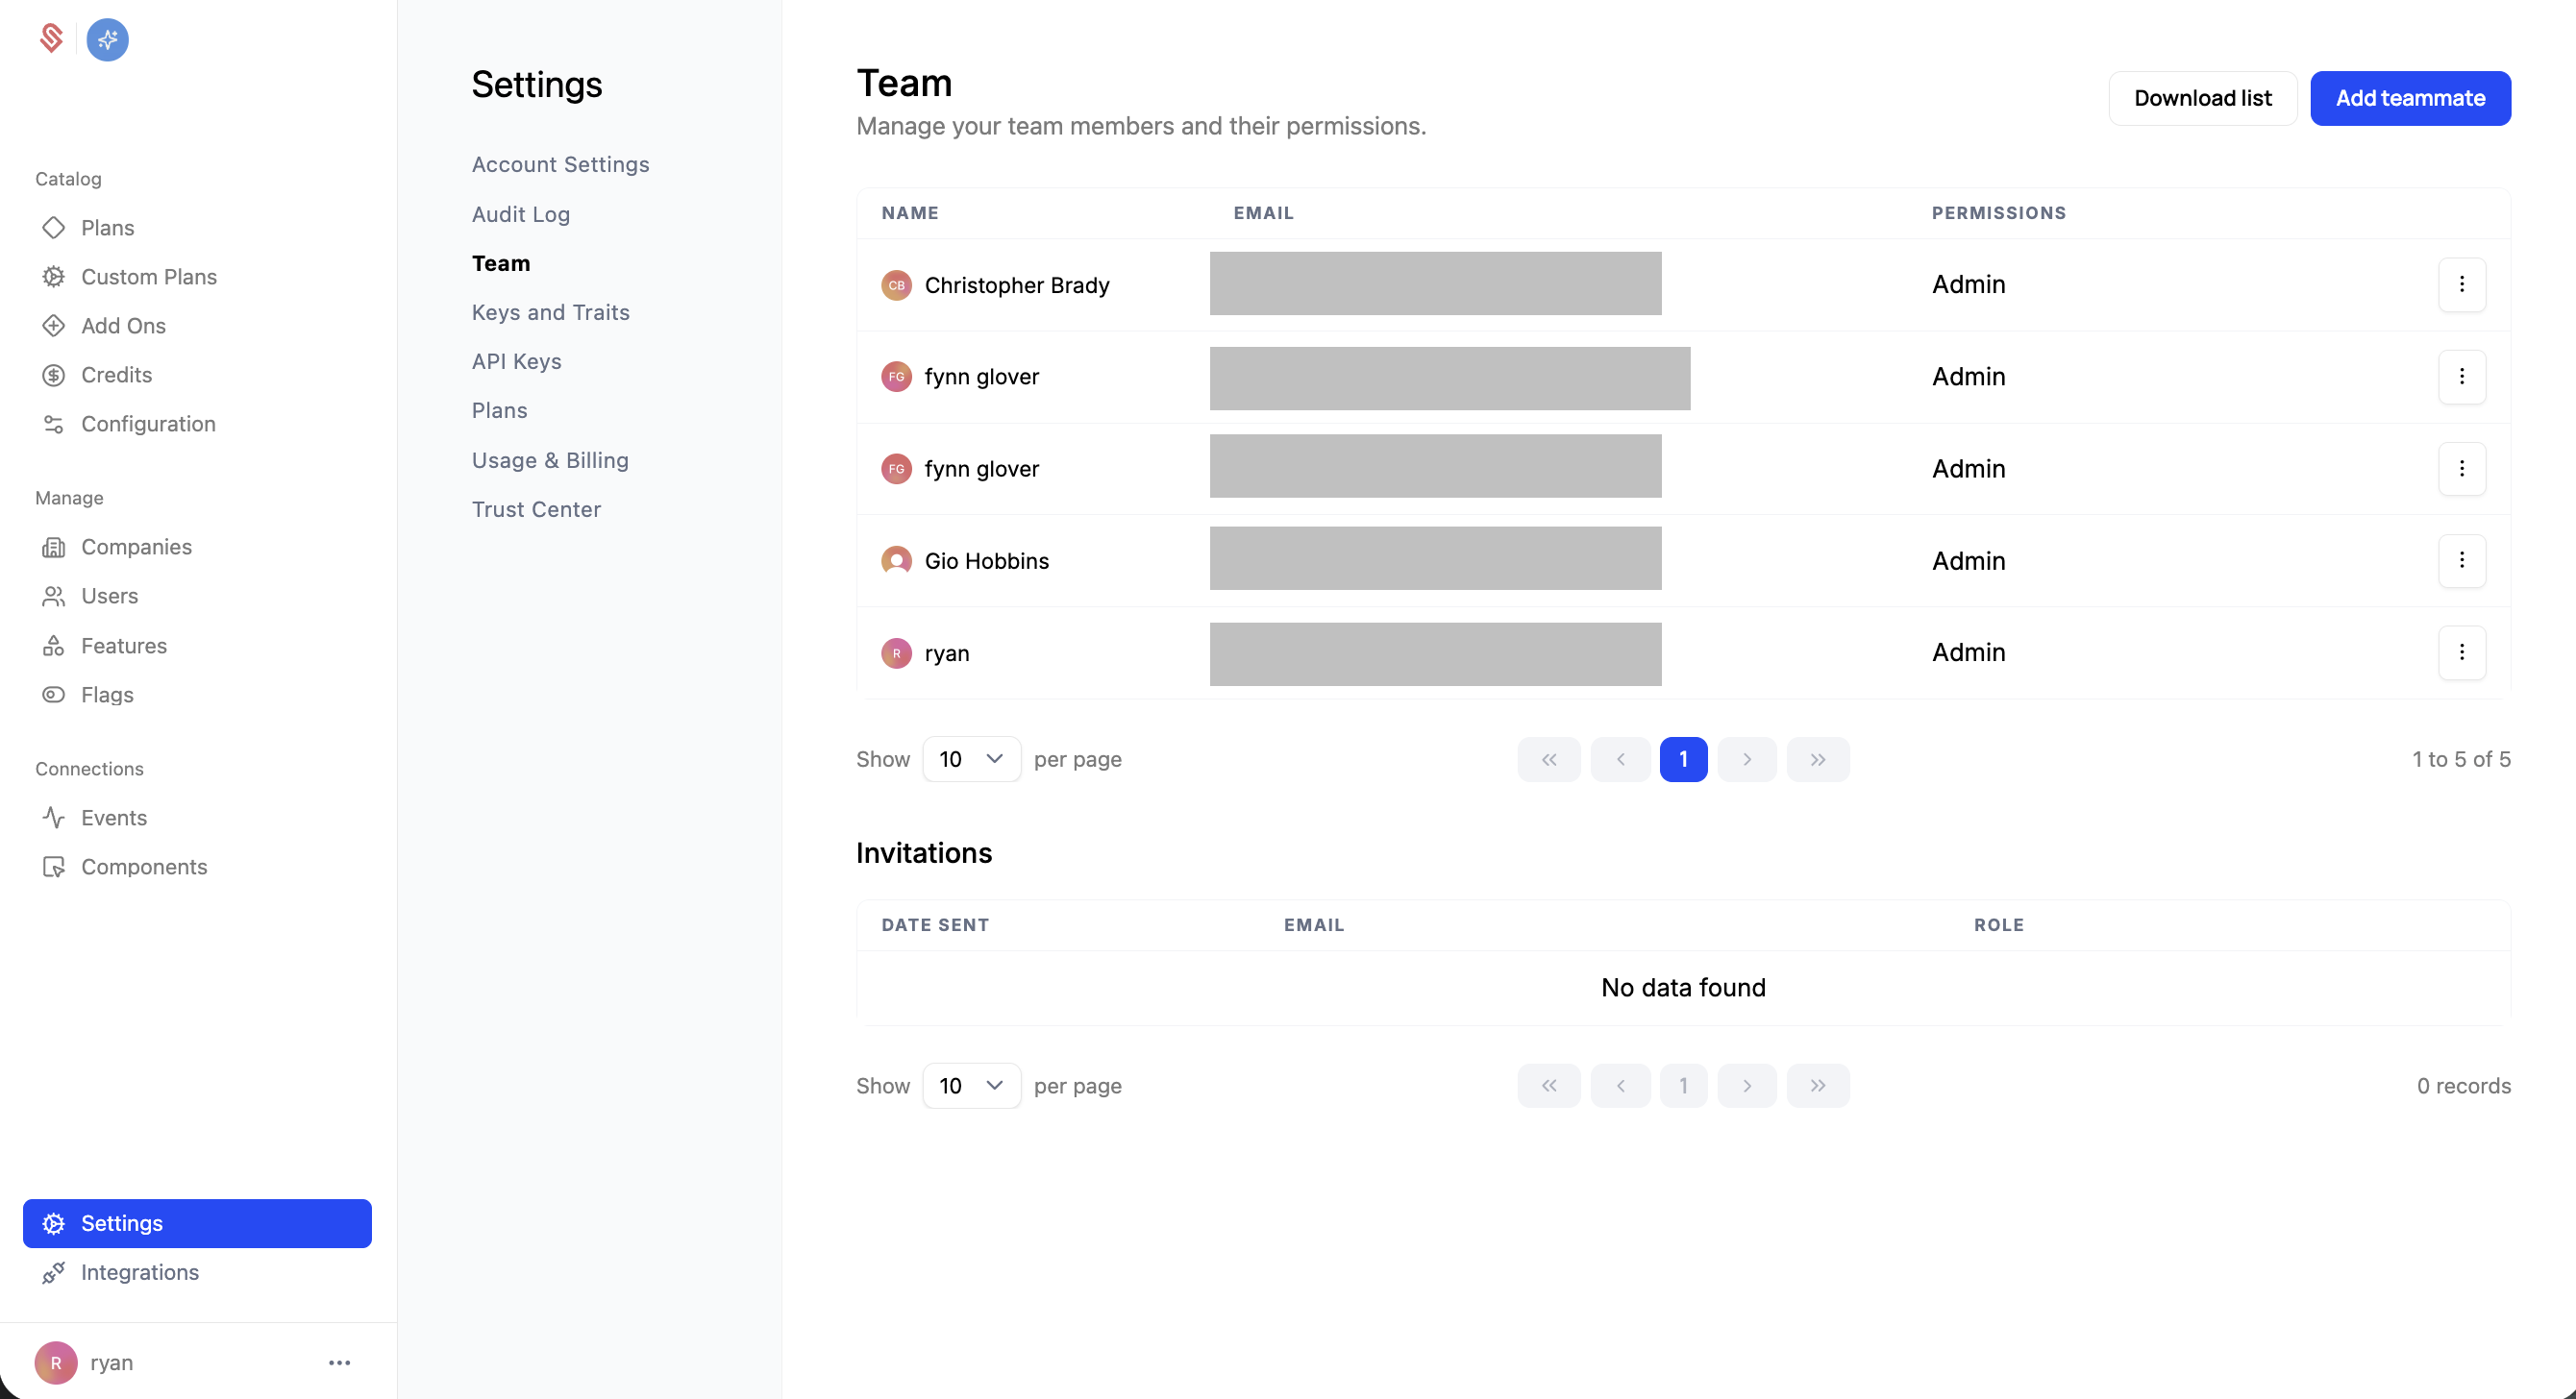
Schematic uses role-based access control (RBAC) to govern what each of your team members can do. You manage your team and their access from Settings → Team.
Roles
Every team member has one of two roles:
- Admin — Full access to everything in the account, across all environments. Admins can manage team members, billing, and every resource. Permission toggles don’t apply to admins; they always have full access.
- Member — Access is limited to exactly the permissions you grant. A member with no permissions can sign in and view data but cannot make changes.
How permissions are scoped
For members, permissions are granted at two levels:
- Account permissions apply across your whole account, regardless of environment. These cover catalog-wide resources.
- Environment permissions are granted per environment. A member can have different permissions in your Production environment than in a Sandbox or Development environment, which lets you give someone freedom to experiment in a sandbox while restricting what they can change in production.
Account permissions
These apply across all environments:
- Flags — Create, edit, and delete feature flags.
- Features — Create, edit, and delete features.
- Plans & Add-ons — Create, edit, and delete plans and add-ons.
Environment permissions
These are granted per environment:
- Companies — Create, edit, and delete companies, and assign plans to companies.
- Users — Create, edit, and delete users.
- Overrides — Create, edit, and delete company-level overrides.
- Plan Entitlements — Create, edit, and delete the entitlements attached to a plan.
- Plan Versions — Create, edit, and delete plan versions.
- Plan & Billing — Manage plan billing configuration and grant credits to companies.
- Credits — Create, edit, and delete credits.
- Components — Create, edit, and delete embedded UI components.
- Webhooks — Create, edit, and delete webhooks, and reveal webhook signing secrets.
Assigning roles and permissions
- Go to Settings → Team.
- Click Add teammate to invite someone, or click Edit on an existing member.
- Choose a role. If you select Member, the permission controls appear.
- Toggle the account permissions and, for each environment, the environment permissions you want to grant. Use Select all / Unselect all to set a whole group at once.
- Save. The teammate’s access updates immediately.
Only admins can add teammates and change roles or permissions.
Example: a sales or customer success role
A common setup is a teammate who can manage customer accounts and exceptions but should not change your core catalog. Grant a Member these environment permissions (typically in Production):
- Companies — to assign existing plans to companies.
- Overrides — to create company-level overrides.
- Plan & Billing — to grant existing credits to companies.
Leave the account permissions (Flags, Features, Plans & Add-ons) off so they cannot change your catalog, and leave Users, Plan Entitlements, and Plan Versions off as well.